
Button Up Shirt Refashion Tutorial

This post may contain affiliate links.
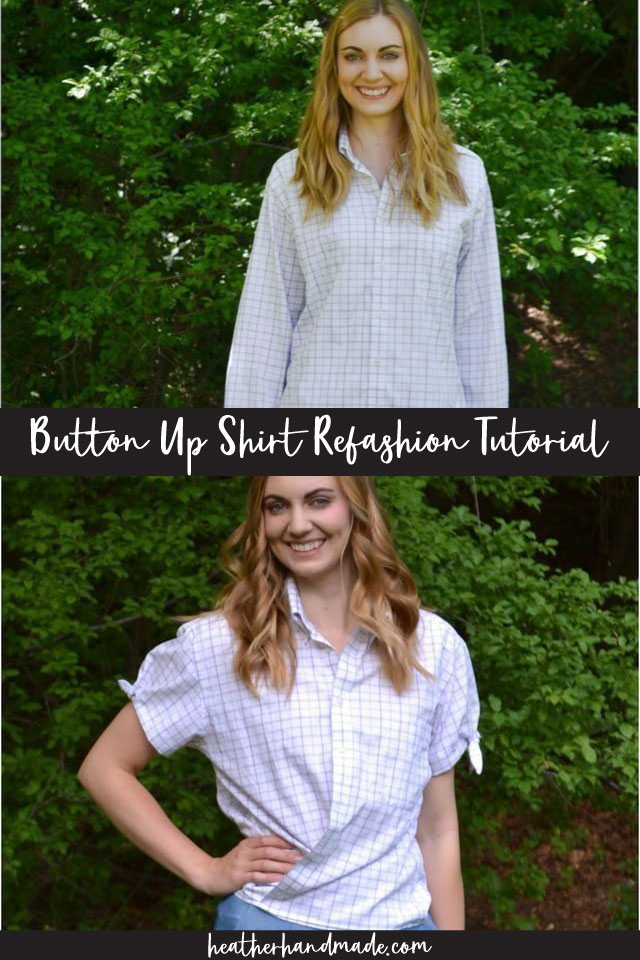
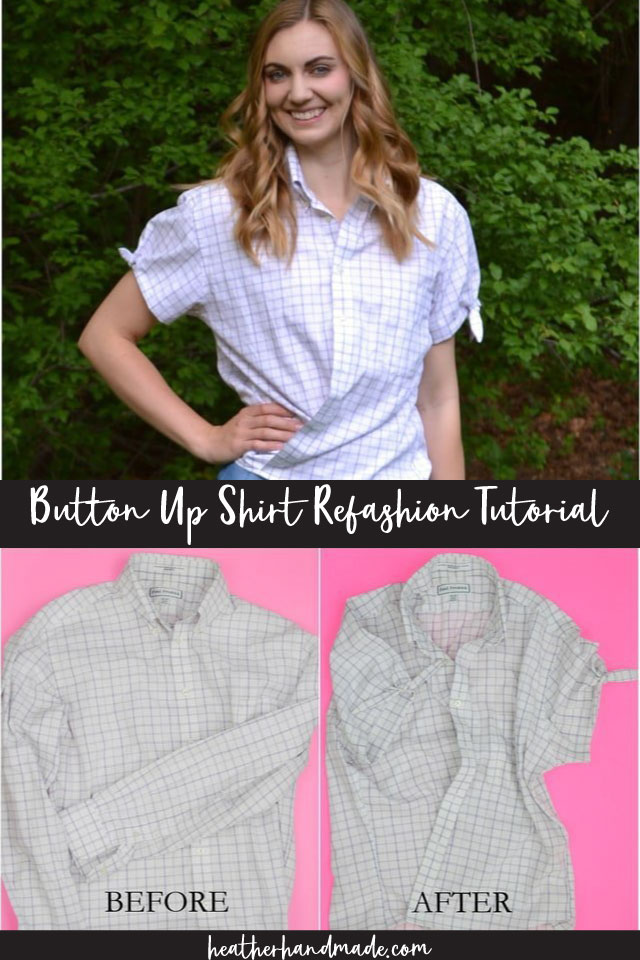
With this button up shirt refashion turn a men’s shirt into a fun, summery wrap top. There’s lots of button up shirts to use, and there’s not a lot of sewing involved.
One of my favorite items to refashion is a button up shirt. There’s a lot of fabric to use; there’s cuffs, button plackets, a pocket, and a collar. My husband is often getting rid of a button up shirt, and they are so fun to refashion.
I came up with a really cute summer wrap shirt with this shirt refashion tutorial so you can sew your own!
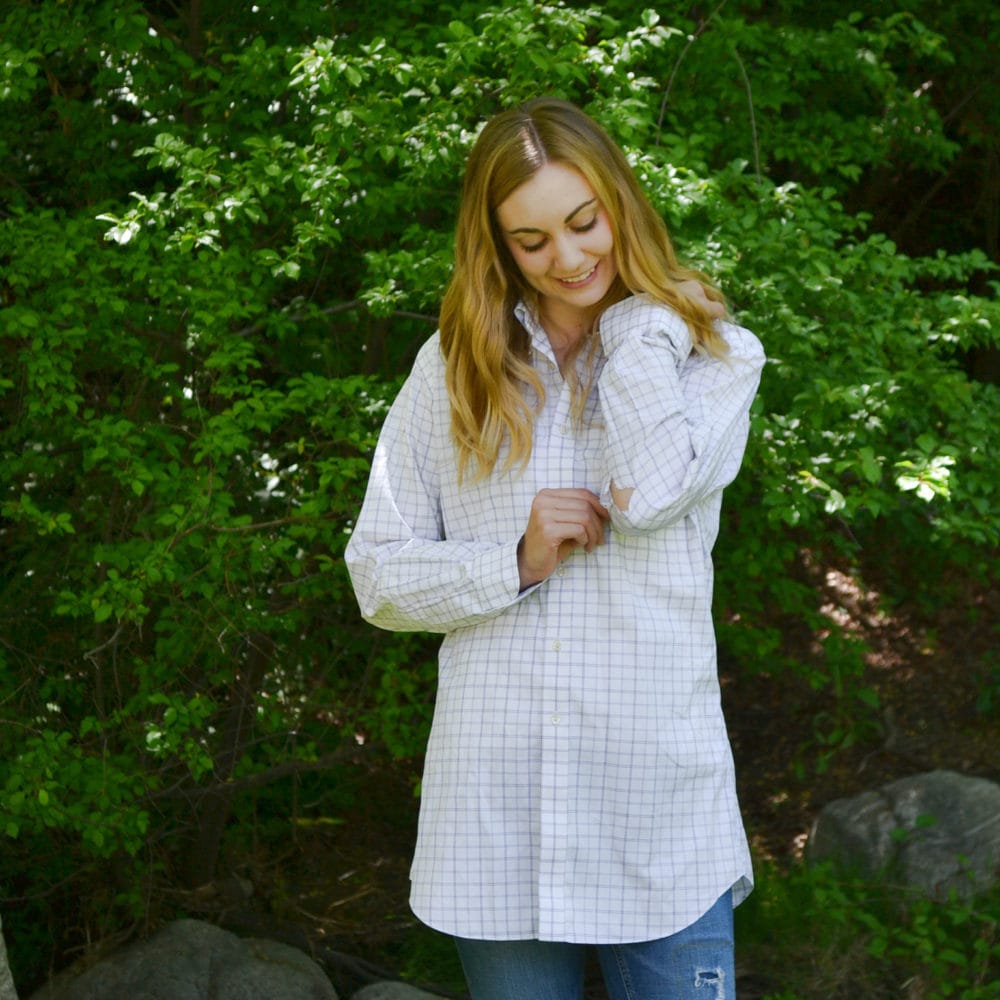
My husband wore this shirt a lot until he got a hole in the elbow. It was past fixing so it went to my refashion stash.
I love when he gets rid of a button up shirt because I can do one of these button up shirt refashions! I even turn button up shirts into dresses!
At first I was going to make a little girl’s dress until I decided to use the fun windowpane print for myself. I love the look of a wrap, and I knew I could make a gorgeous wrap top from a button up shirt.
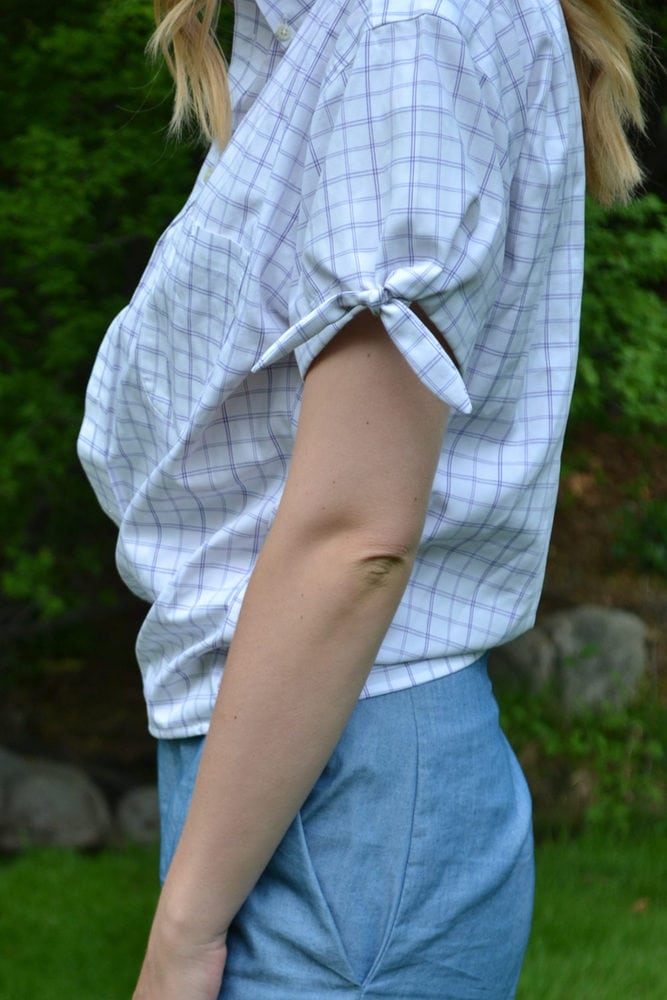
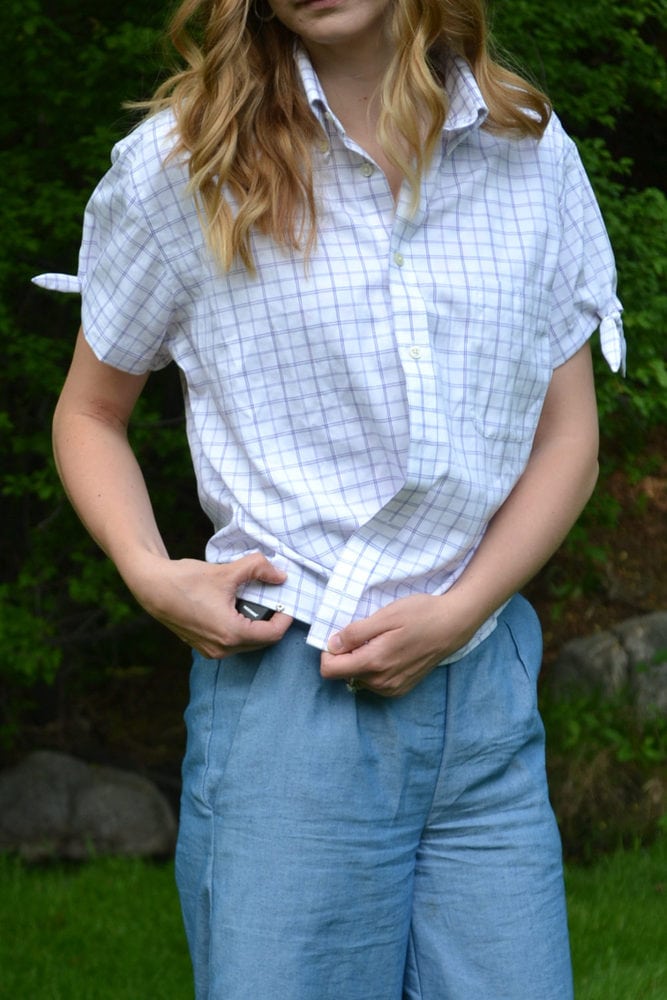
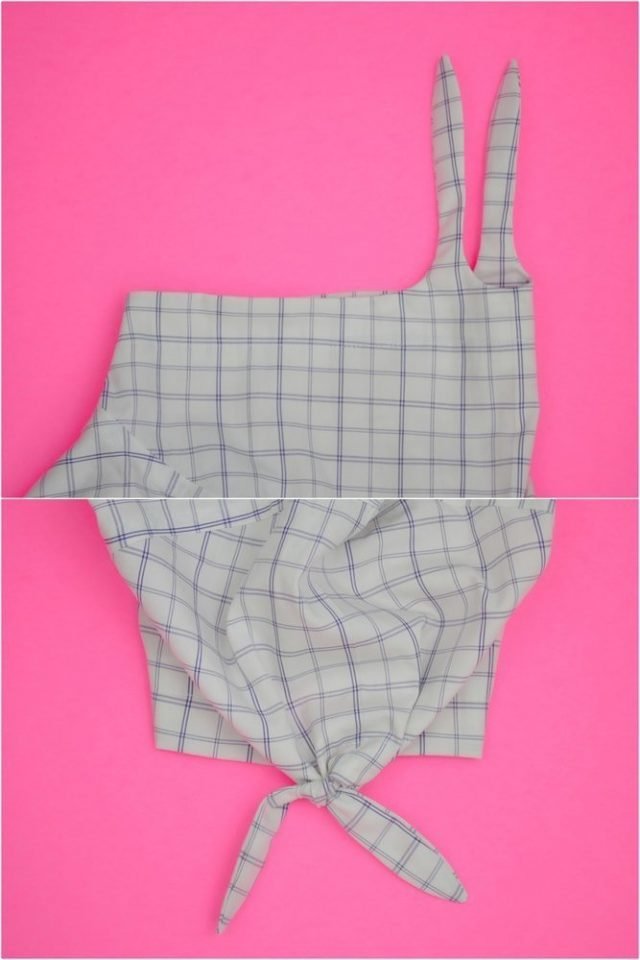
These tie sleeves make the sleeves tighter and give an adorable look. I just love the tie!
To get the shirt on I button the button that is at my bust, and then I snap the two snaps at the hem. The button prevents the wrap from opening up too much, and the snaps hold the hem in a wrap style.
Button Up Shirt Refashion Tutorial
Supplies
- Button up shirt one size up than your women’s size (I’m a women’s small and used a men’s medium)
- Sewing tools
- Snaps
Directions
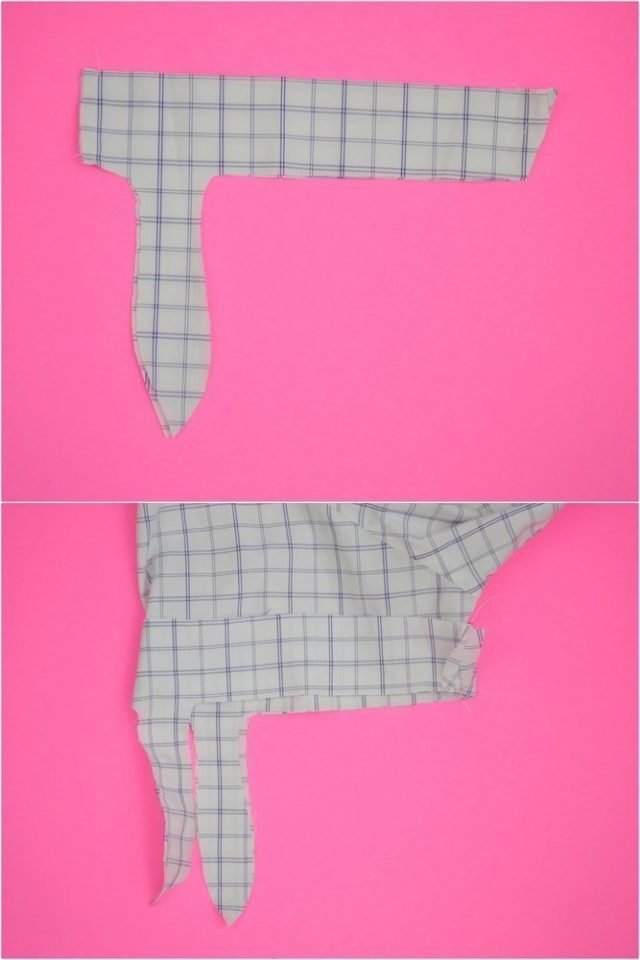
First cut the bottom off of the button up shirt. I cut 5 inches off of mine. I wanted it to hit at my high hip.
Sew a new 1/4 inch double fold hem on the shirt.
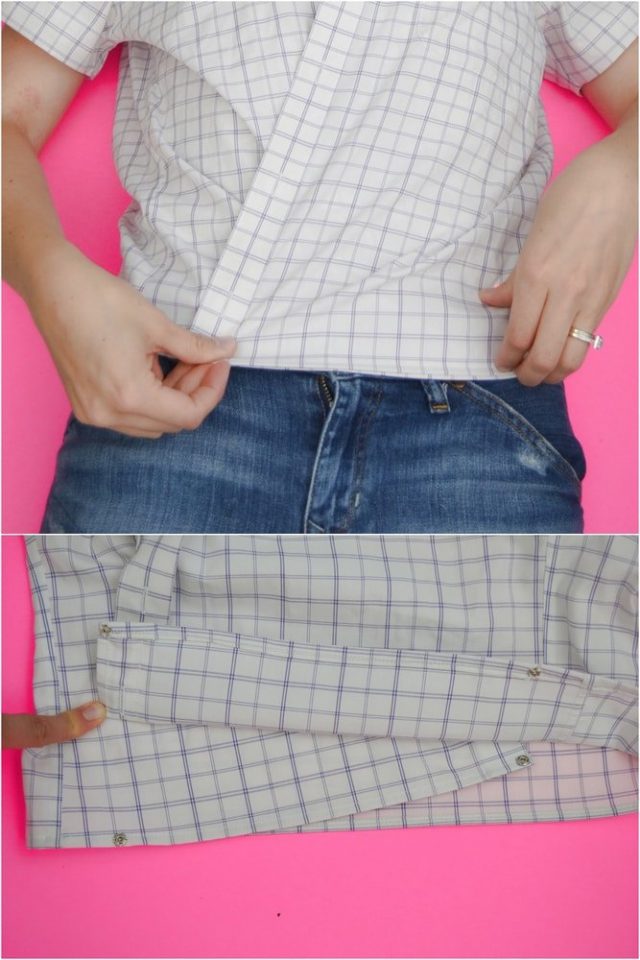
Put the shirt on. Overlap the front plackets with the buttonhole side on top until it is fitted. Mark where both button plackets are at the hem.
Hand sew snaps onto the hem so that the shirt will overlap in a wrap style.
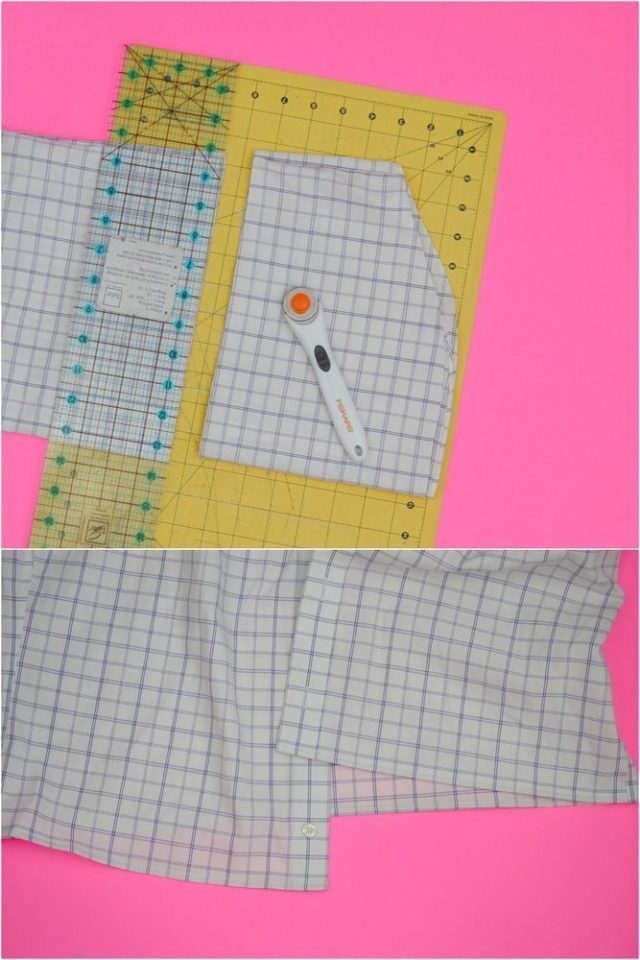
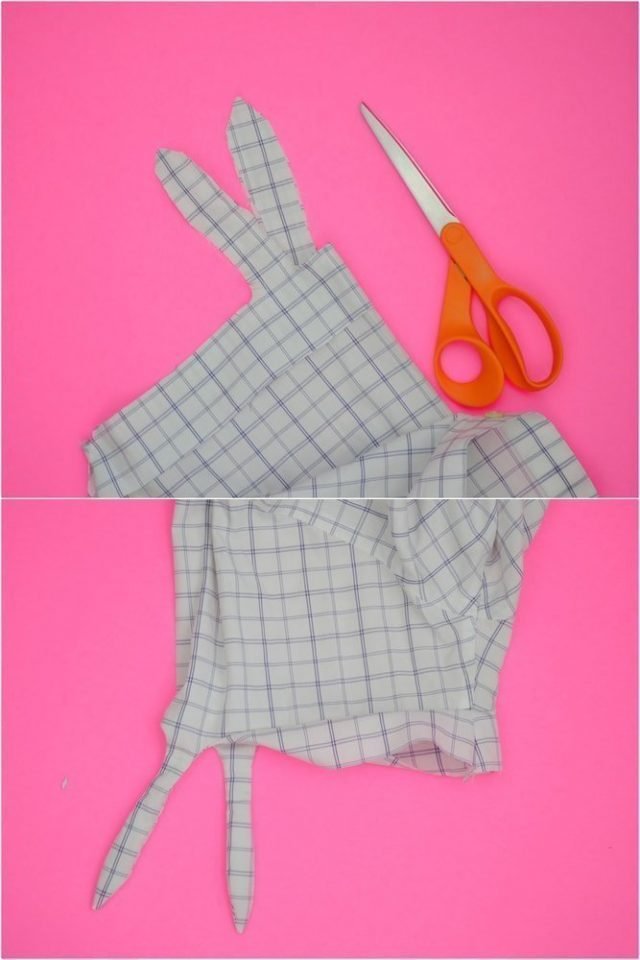
Cut the sleeves short. When you cut it cut two tie shapes near the top of the sleeve.
Using the extra fabric copy the shape of the sleeve tie and cut a sleeve hem facing.
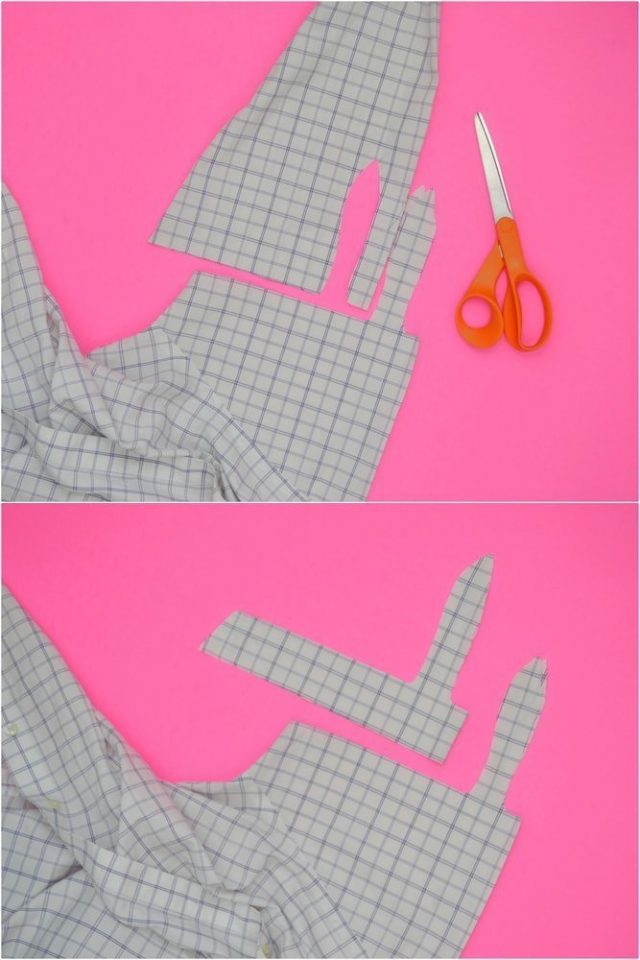
Sew the two short sides of the sleeve facings to make one circle.
With right sides together sew the sleeve facing onto the bottom of the sleeve with a 1/4 inch seam allowance. Make sure you match up the ties well.
Trim the points and clip the inside curves.
Turn the hem facing inside the sleeve.
Finish the inside straight edge of the facing with a zigzag or serging.
Sew around the sleeve hem at 1 inch to tack the facing down.
Do the other sleeve the same way.
Press well.
Tie the two strips into a tight double knot. It pulls the sleeve in to make it slightly more fitted and a bit of gathering.
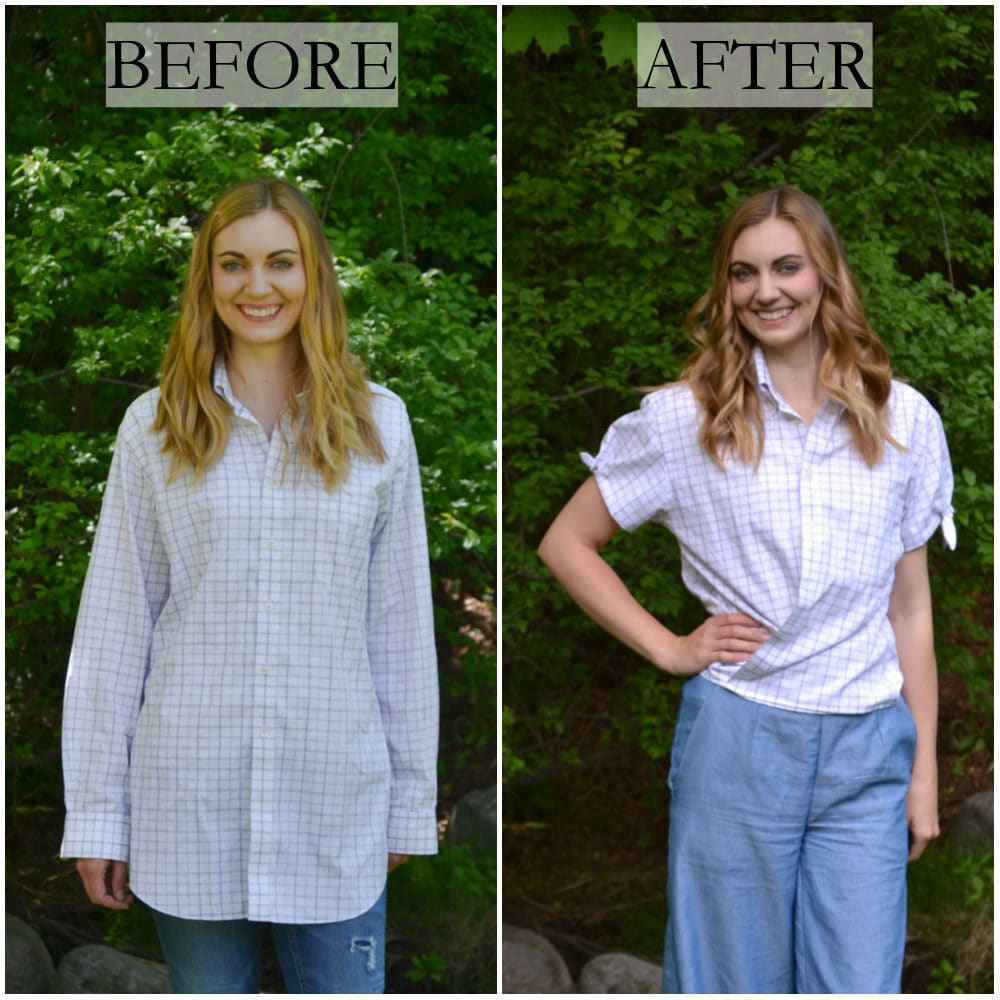
I love the vintage look of this shirt, and I think it looks amazing with a high waisted pant. It’s a very summery look, but it’s practical and cute.
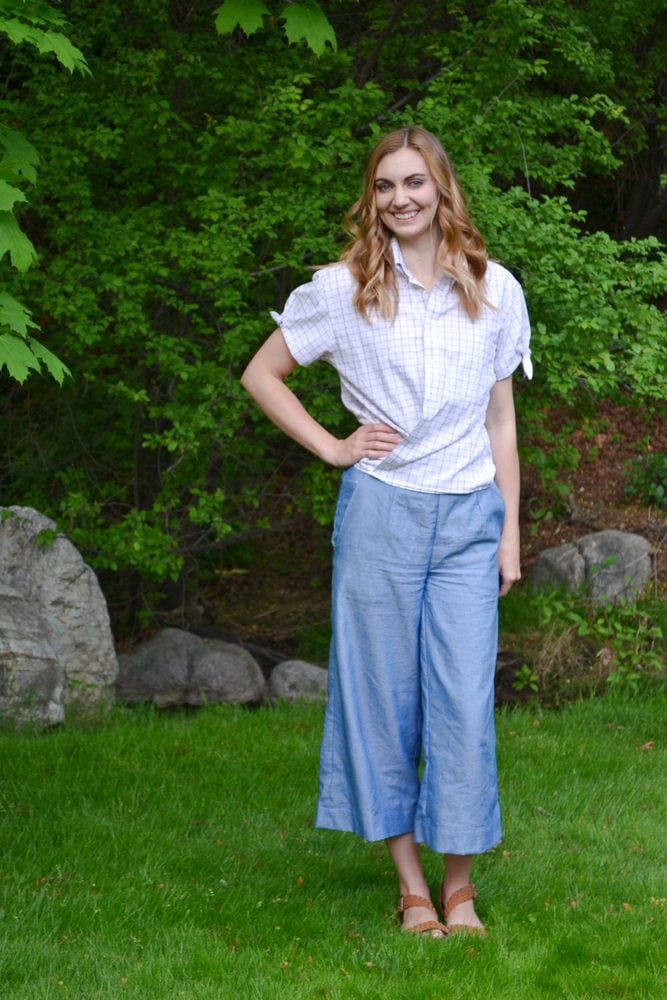
The front wrap and the sleeve ties make the shirt more fitted without needing to redo sleeves or side seams. Just think of all the fun button up shirts you could refashion with this shirt refashion tutorial!
If you make something using this sewing project, I’d love to see! Please share it on social media with the hashtag #heatherhandmade and tag me!

I believe small sewing moments can create great joy. Find your own “right” way to sew. -Heather