
FREE 18 mos Babydoll Top Pattern

This post may contain affiliate links.
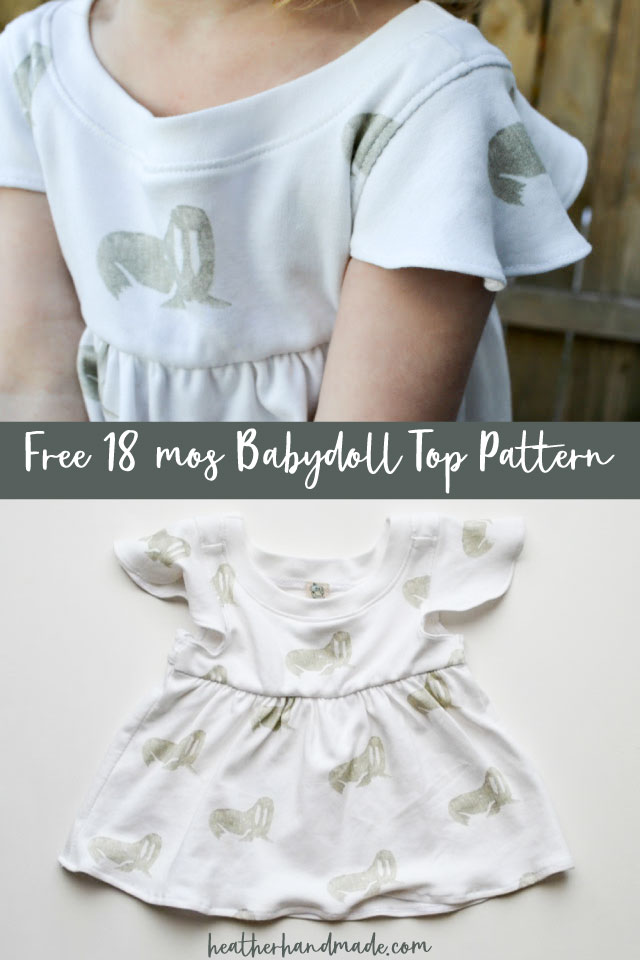
Make an adorable top for you baby with this babydoll tee pattern. It’s a free sewing pattern that only uses one fat quarter of fabric!
Have you ever tried sewing something from a fat quarter of knit fabric? Or do you have knit remnants that are big enough to be saved but you struggle to find a project for it?
Well, today I have a fun little free babydoll tee pattern to share with you that will use up those remnants or a fat quarter of knit fabric!
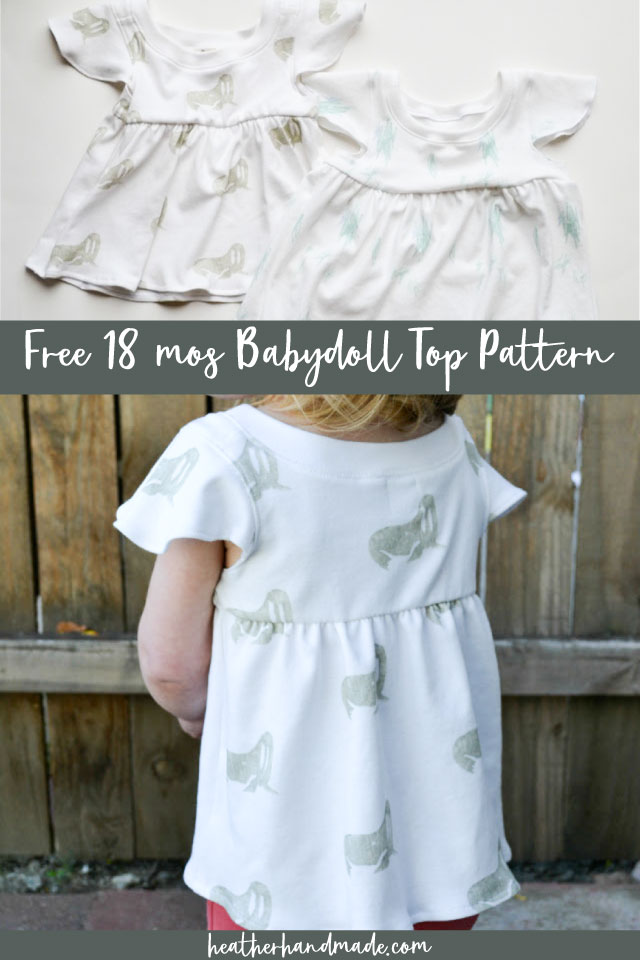
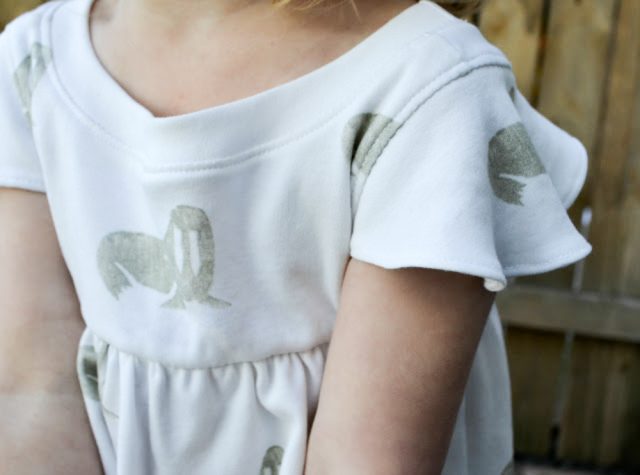
I did some really creative cutting to fit all the pieces on a fat quarter and creates a really cute flutter sleeve! It’s my favorite part of the design. It’s so adorable on toddler arms.
If you like to work with scrap fabric and fat quarters sew some other easy fat quarter projects for clothing!
what is a pdf sewing pattern?
A PDF pattern is a sewing pattern designed on the computer and organized so that it can be printed on several letter or A4 size pieces of paper.
I love using PDF sewing patterns because if the pattern gets ruined or if my children or I changed sizes, I can always print it again. It’ll never be destroyed since I have a digital version!
how do you use a PDF sewing pattern?
Open the PDF on a computer and click print. When printing make sure that the scaling is set to 100% or no scaling so that the pattern prints at the correct size.
Once the pattern is printed it can be taped together to get the full size. Then the pattern can be cut for each pattern piece size or individual sizes can be traced so that the pattern can be used again and again. Learn how to use PDF sewing patterns.
Free Babydoll Tee Pattern
Supplies
- Free Babydoll Tee Pattern – Size 18 mos: Get it at the end of the post behind the locked content box
- 1 fat quarter of knit fabric – it works great with scraps!
- 20 inches of 1/4 inch elastic
- Sewing tools
- Sewing machine
Do you love this pattern? Get the Babydoll Dress and Top Pattern in 2 views and 8 sizes!
Cutting instructions
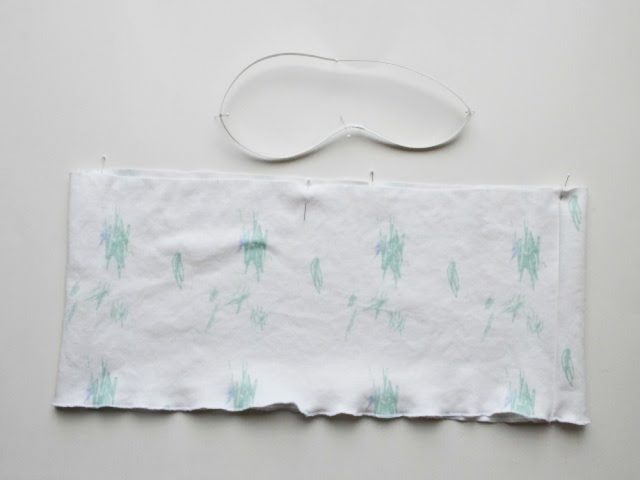
If using a remnant, you can use this as a guide. This is the cutting layout for a fat quarter of knit fabric. Fold one side of the fabric over until it measures 7″. Fold the other side over until it meets the other edge. The smaller side will be for the bodice front and back and the sleeves. The 7″ side will be for the skirt.
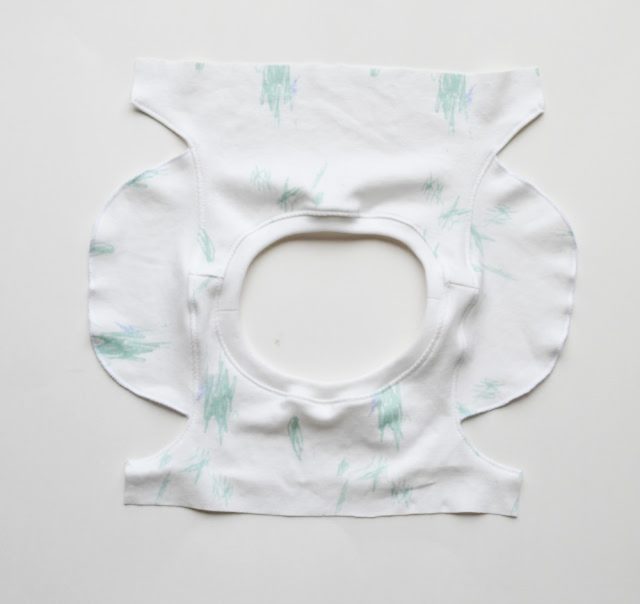
The sleeve can be nestled right in the curve of the necklines. I cut out both my bodices first and then cut the sleeves out of the pieces. You can fold the sleeve and cut it out at the same time if you’d like.
Cut the neck piece from the remaining pieces.
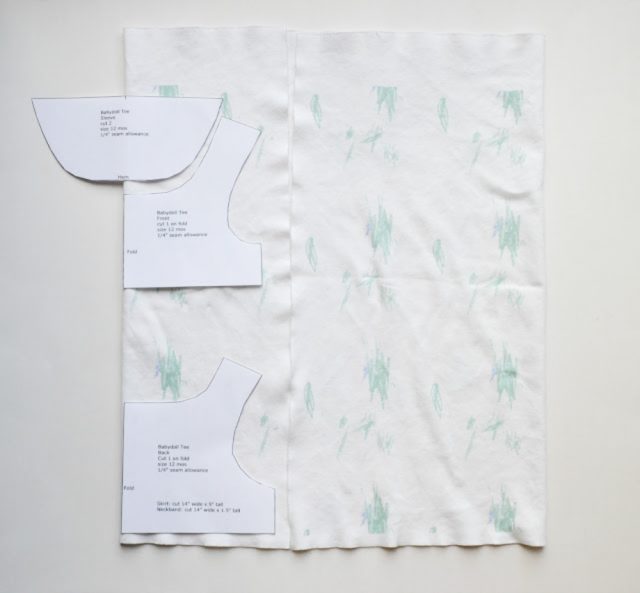
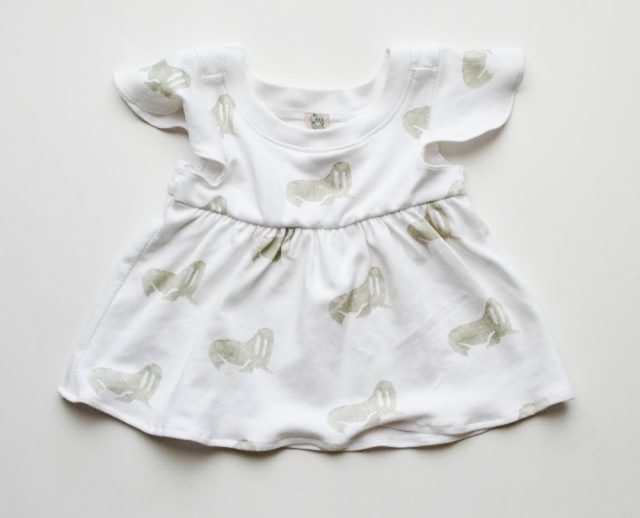
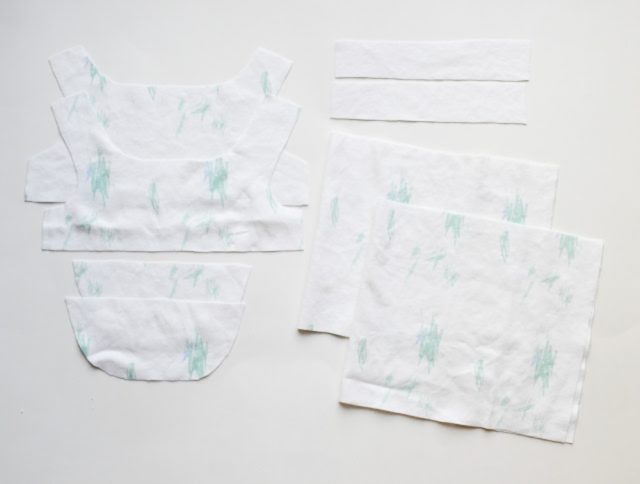
You will need one front bodice, one back bodice, two sleeves, two skirts, and ONE neck piece. (I’ve updated the pattern since taking these pictures.)
Sewing instructions
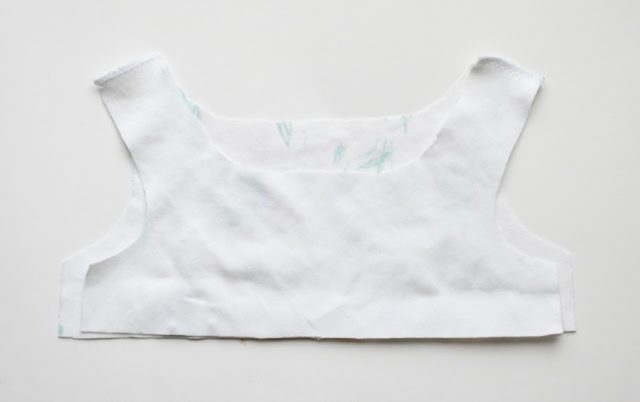
With right sides together sew the shoulders together at 1/4″ with a stretch stitch. Finish edges.
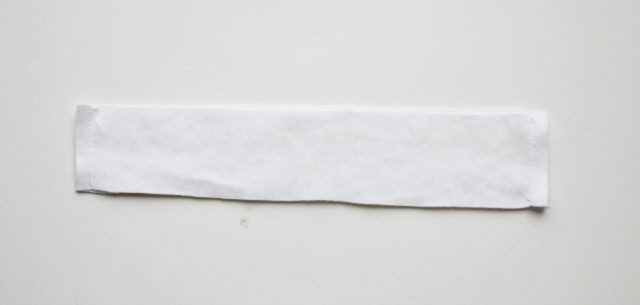
With right sides together sew the neckbands together at 1/4″ with a straight stitch.
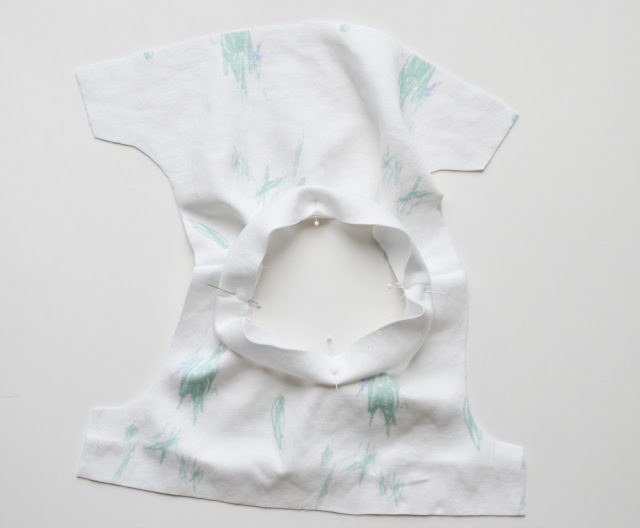
Fold the neckband in half lengthwise with wrong sides together. Divide the neckband into four. Divide the neckline into four. Match up the four sections and pin.
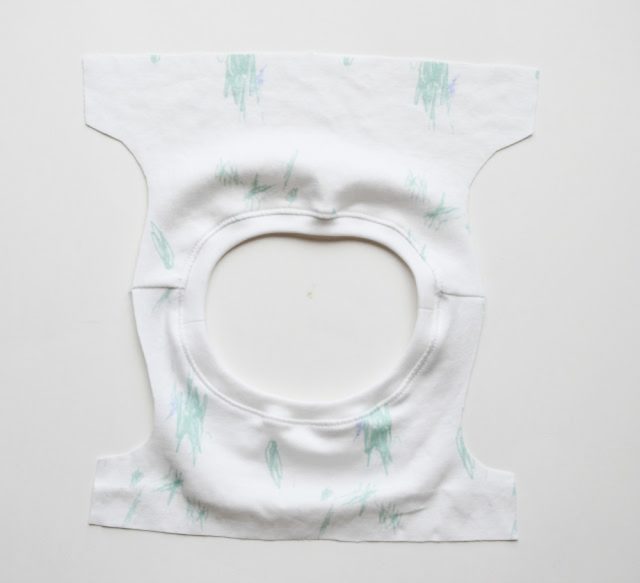
Sew at 1/4″ while slightly stretching the pieces to fit. Finish the edges.
From the front sew the seam allowance towards the bodice with a straight stitch 1/8″ from the seam.
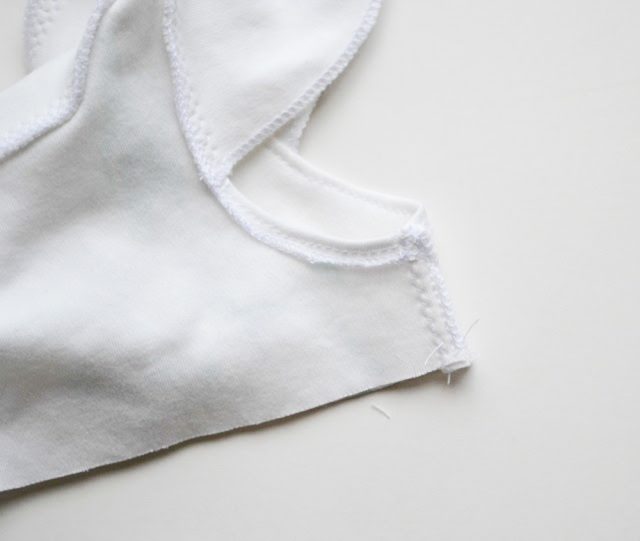
Finish the curved edges of the sleeves. You can serge the edges, zigzag the edges, or sew a rolled hem without a rolled hem foot. You can also leave the edge raw.

Match the center mark on the sleeves with the shoulder seam. With right sides together sew the sleeves with a stretch stitch at 1/4″. Finish the edges.
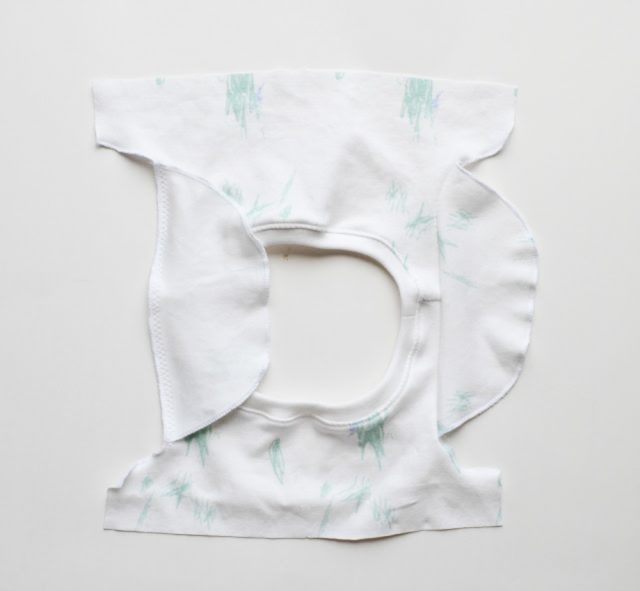
Fold the seam allowance towards the bodice and edgestitch with a straight stitch. Where there is no sleeve fold the edges over 1/4″ and edgestitch.
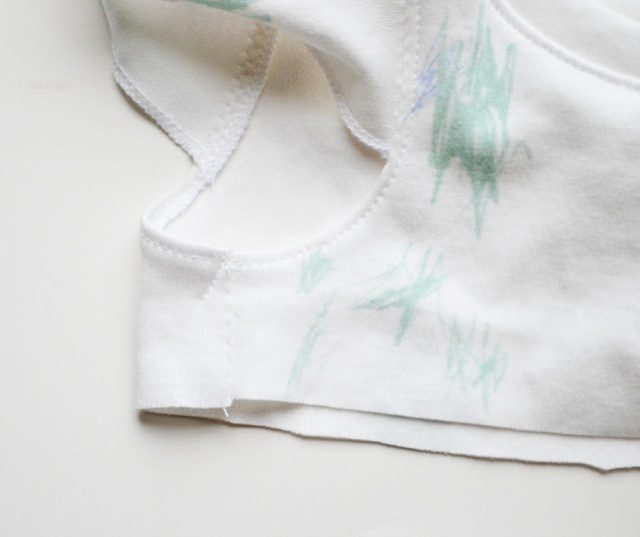
With right sides together sew the sides of the bodice together with a stretch stitch at 1/4″. Finish the edges.
At the armpit edge tack the seam allowance towards the back.
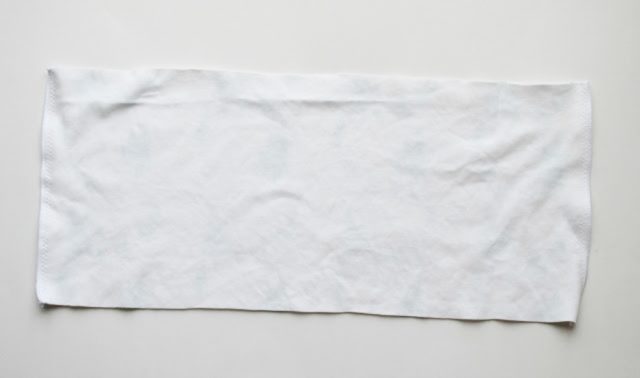
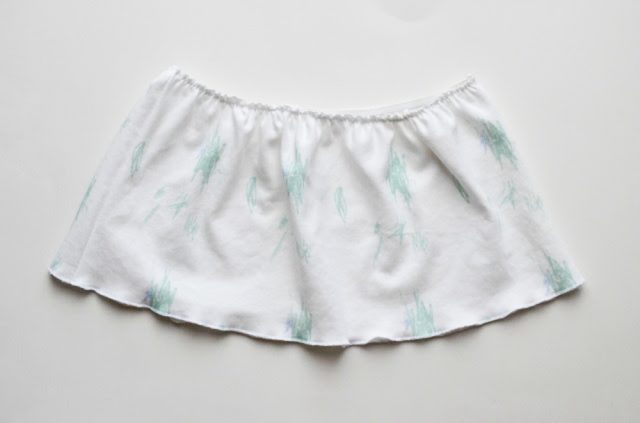
With right sides together sew the edges of the skirt together with a stretch stitch at 1/4″.
Overlapping 1/2″ sew the edges of the elastic together creating a circle.
Divide elastic into four sections. Divide the skirt into four sections.
Match up the four sections with the elastic on the inside of the skirt.
Sew the elastic to the skirt with a zigzag stitch stretching while you sew.
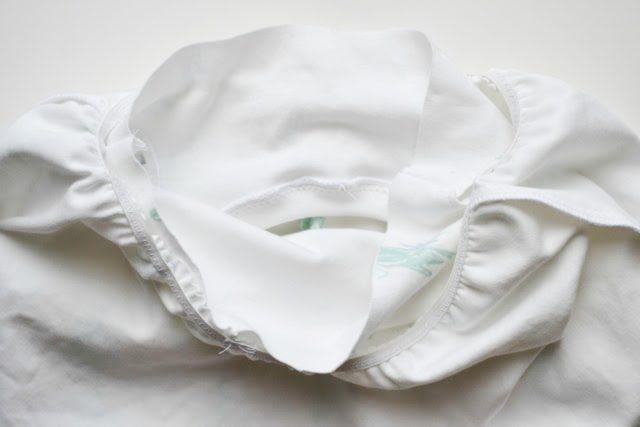
Turn the skirt wrong side out. Slip the bodice right side out into the skirt matching up the side seams. The right side of the bodice should be facing the right side of the skirt.
Sew the bodice and skirt together with a stretch stitch at 3/8″. Finish the edges.
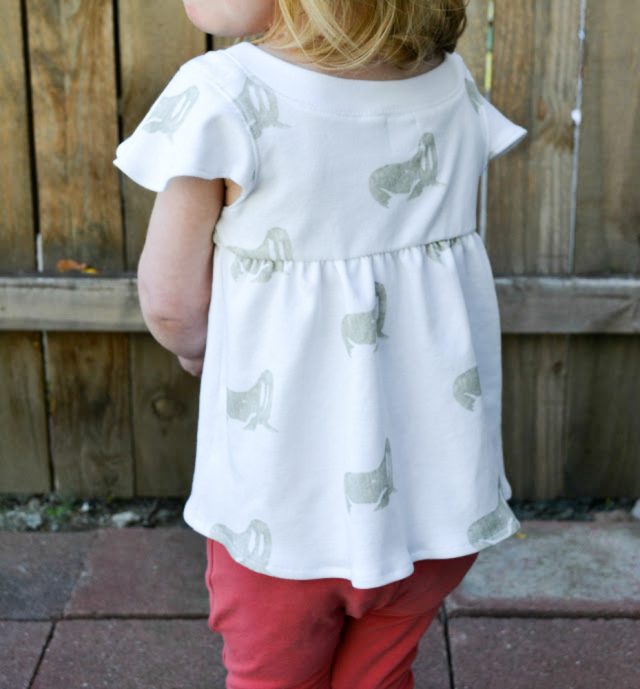
Hem the skirt. For the scribble tee I serged the edges. For the walrus tee I serged the edges and folded it up once and sewed with a straight stitch.
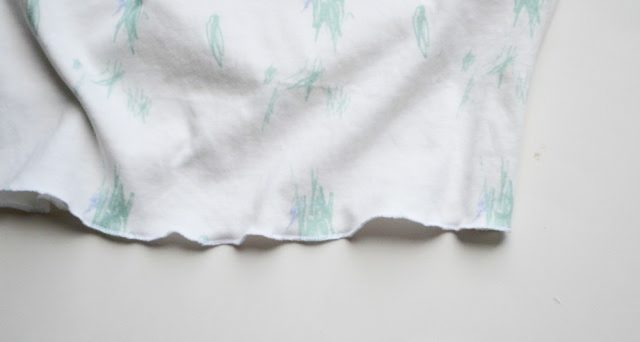

Press carefully and you’re done!
Enjoy the free pattern! I can’t wait to see what you make! I’d love to make these in lots of pretty colors and use up a bunch of my knit stash!
Get the Free Sewing Pattern here!
If you ues this Babydoll Tee pattern, I’d love to see! Please share it on social media with the hashtag #heatherhandmade and tag me!

I believe small sewing moments can create great joy. Find your own “right” way to sew. -Heather
Do you have a similar pattern using fabric that’s not knit, I have a lot of scraps that I’d like to use for my 2yr old granddaughter and also you call the pattern for 18months but when I downloaded it said 12 months, do I increase by 1/2 inch or 1/4 inch for a 2T
I would had 1/2 inch to each side. This one only works with knit. You’d have to find a woven empire pattern that works with wovens.
I know I’m probably just missing something, but where are the pattern pieces?
It’s in my subscriber library! Sign up for my newsletter to access it!
This is so cute. What a fun and simple way to use up scraps. I love how you did the neckband. I've tried to do that before but somehow I always mess it up!