
How to Sew Pintucks

This post may contain affiliate links.
Learn how to sew pintucks a couple different ways. Pintucks are a classic and sophisticated way to add details to a sewing project.
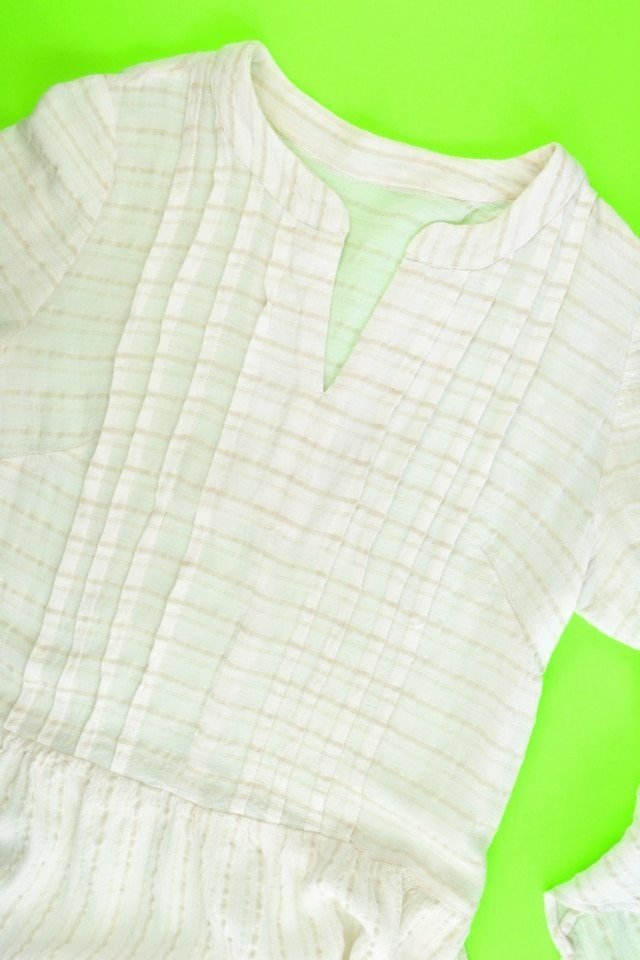
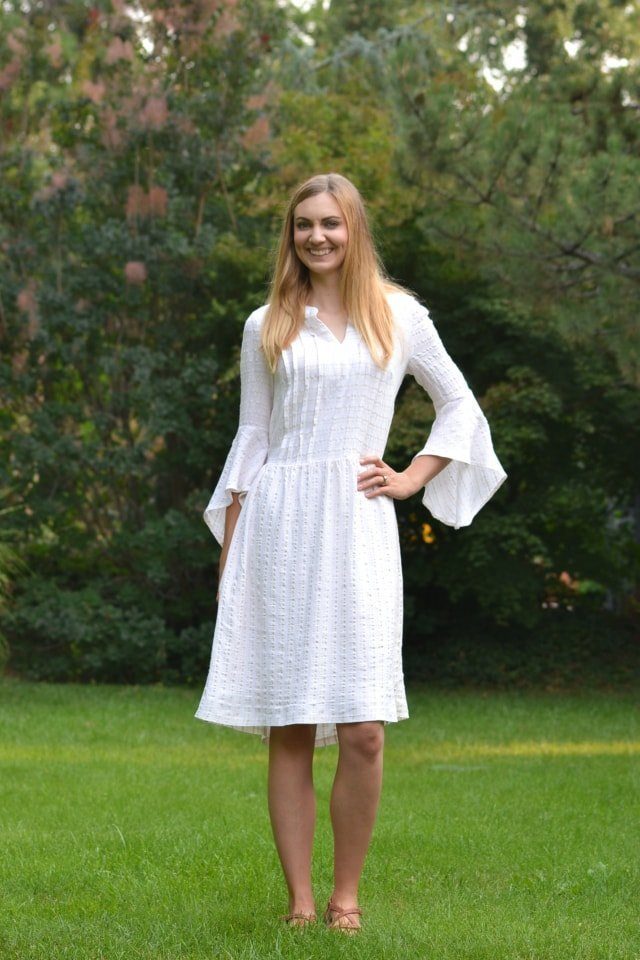
There’s something about pintucks and seersucker that are so classic, and they just feel like summer. Since I made a new dress with pintucks I thought it would be the perfect opportunity to share everything I know about pintucks. Let’s learn how to sew pintucks!

What are Pintucks?
A tuck is to stitch a fold in fabric that makes it smaller and is for decoration, and a pintuck is a very narrow decorative tuck.
Pintucks are commonly found as parallel vertical tucks on bodices and parallel horizontal tucks on dress and coat hems. Large tucks are especially handy when sewn as parallel horizontal tucks on children’s clothing because the tucks can be released as the child grows.
Pintucks are also used on finely made linens. They were very popular in the 19th century and are still viewed as a classic and heirloom touch.

How Pintucks Change the Look of Fabric
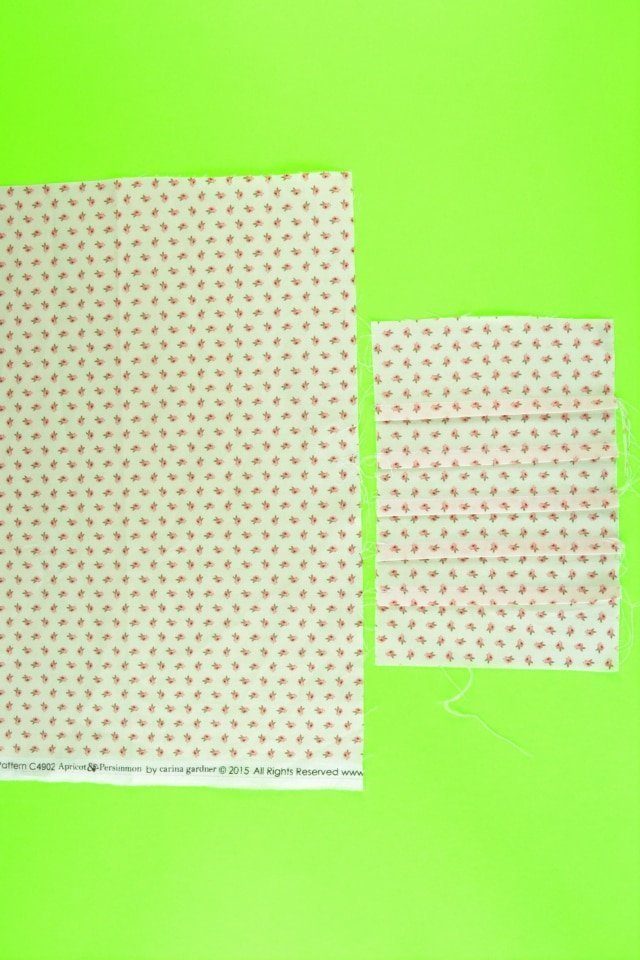
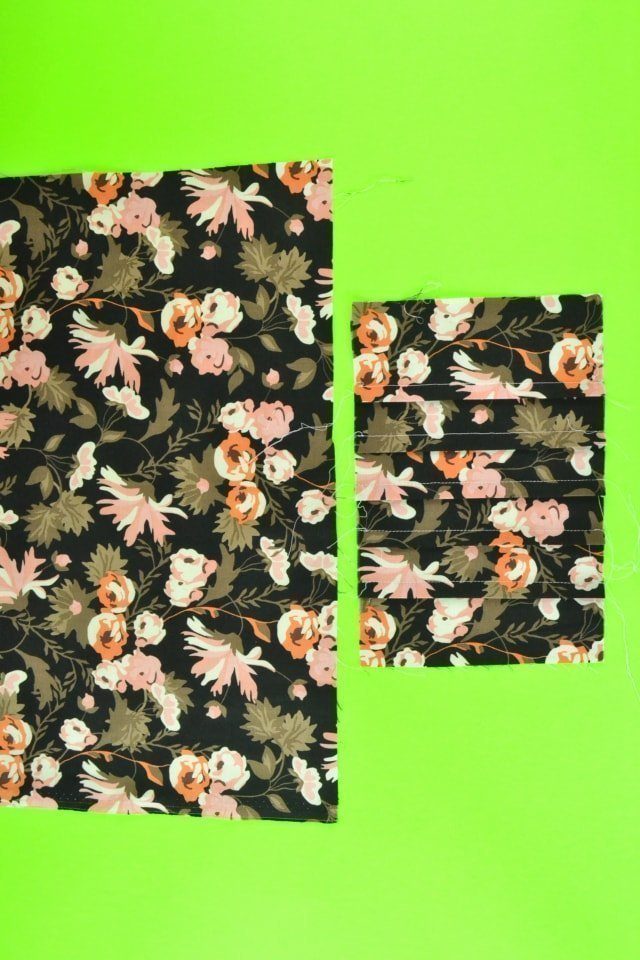
Pintucks are most often found on solid colored clothing so that you can see the pintucks. I sewed some examples of pintucks on printed fabric so you can see what happens.
With a small scale print, pintucks will bring the design closer together and chop it up a little bit, but it doesn’t change the look all the much.
With a large scale print, pintucks will bring the design closer together and really chop it up. It changes the look a lot, and my advice would be to avoid pintucks or tucks on large scale prints.
How to Sew Pintucks
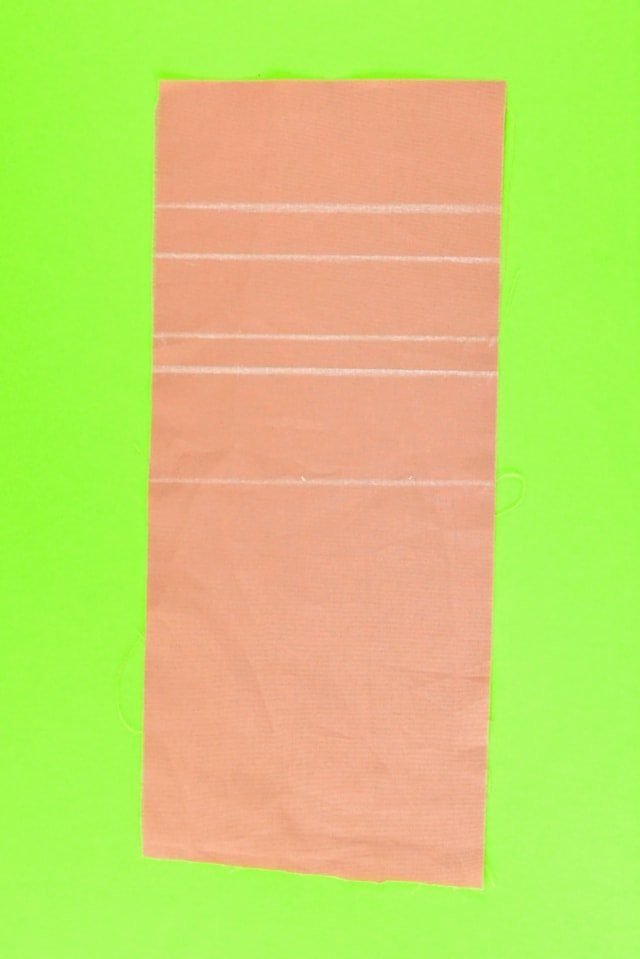
1. I’m going to demonstrate three different sized pintucks on the same sample of fabric. They will be sewn horizontally in these pictures.
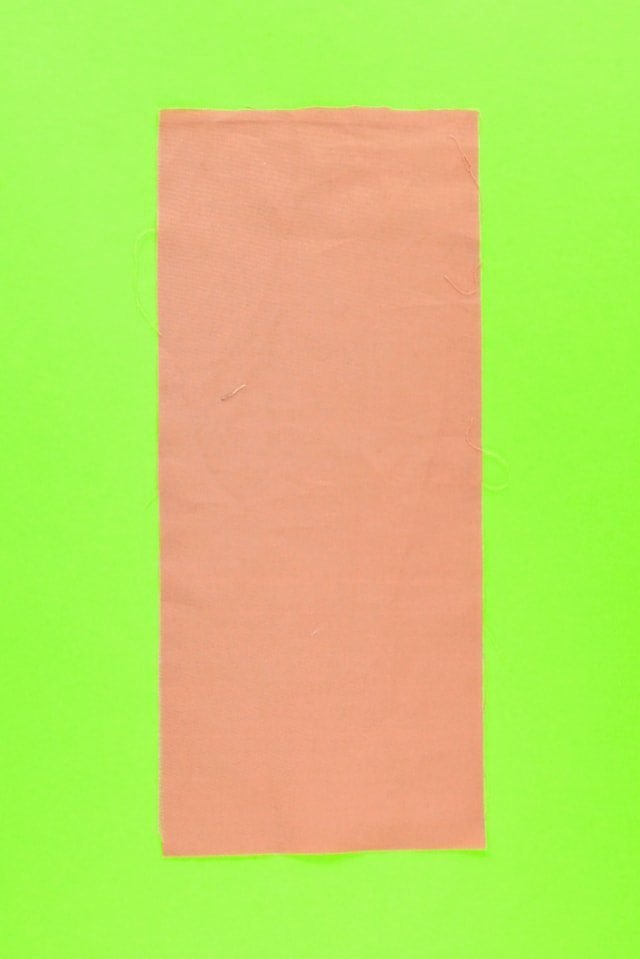
2. The top tuck is marked with two parallel lines 3/4 inch apart, the middle tuck is marked with two parallel lines 1/2 inch apart, and the bottom tuck is marked with one single line. I marked the lines with my favorite Tailor’s Chalk*.
3. In this video I demonstrate how to sew pintucks and how I ironed the pintucks.
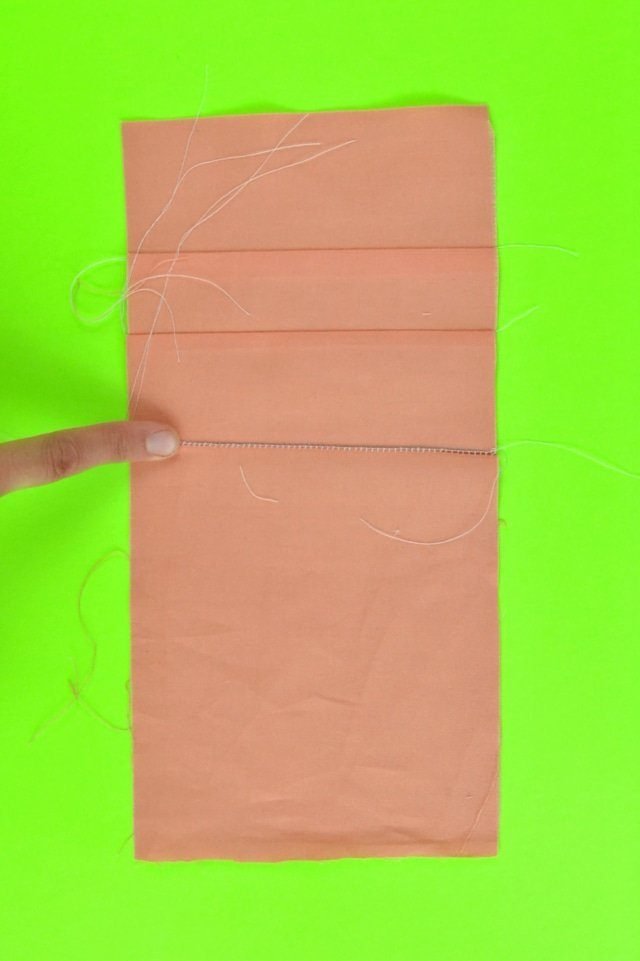
The first two tucks are sewn with a regular needle, folded on the center, and sewn a certain distance from the fold. The last pintuck is sewn with a wide twin needle and then the bobbin thread is pulled tight to form the pintuck. (Read more about how to use a twin needle.)
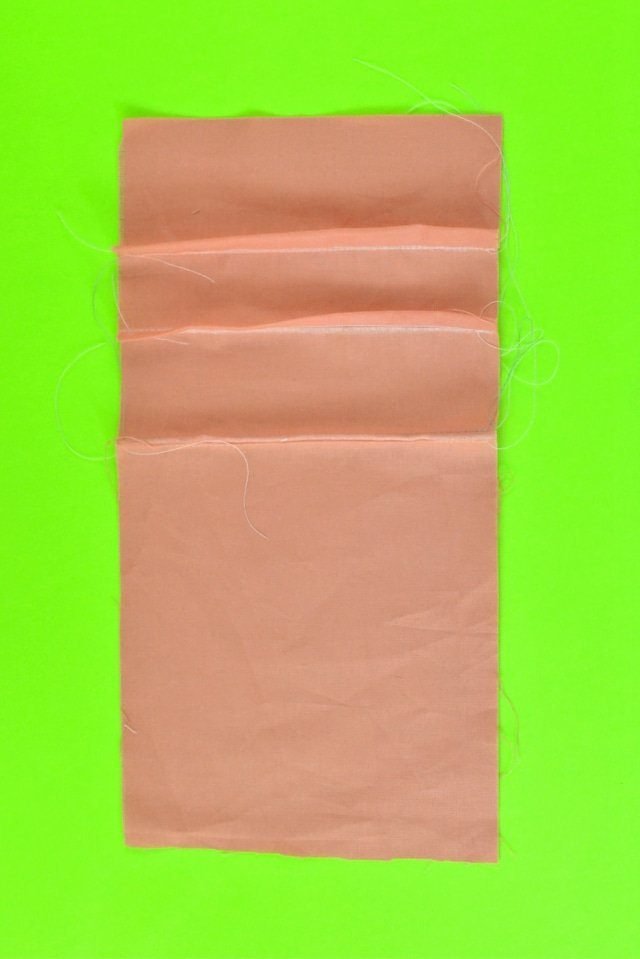
4. These are my pintucks before they were ironed. You can see my chalk marks.
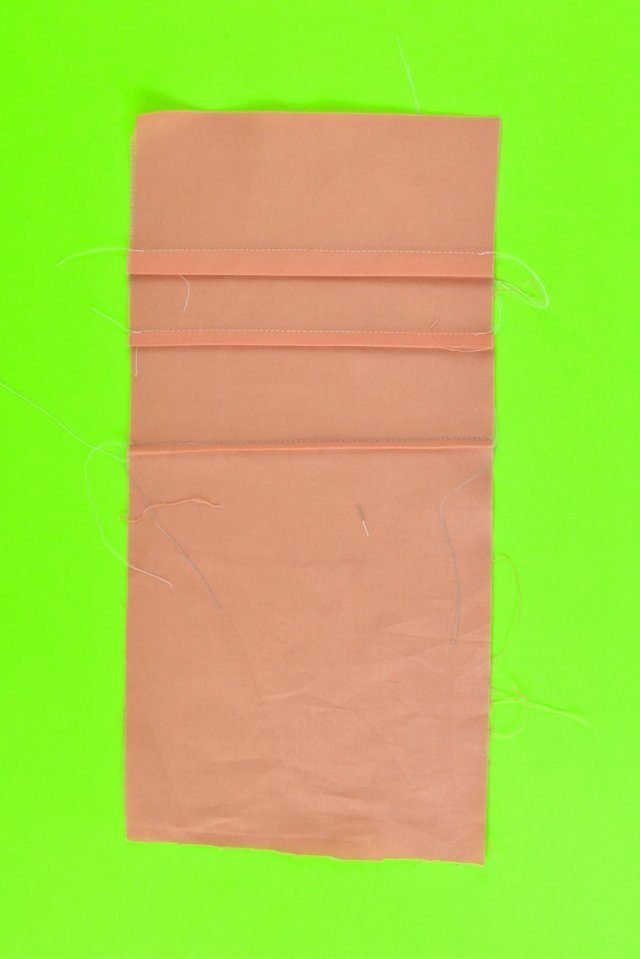
5. All are ironed on the fold first and then ironed all one direction. Pintucks are commonly ironed down or out and away from the center of the garment.
6. The back of the top two tucks look just like a seam. They will be smooth and will not irritate your skin.
The back of the twin needle pintuck will have some threads that could irritate your skin.
In the sewing pattern that I used the tucks on the bodice were already a design of the pattern. I used the dress sewing pattern Simplicity 8551*. I cut a size 12 but I could’ve cut a size 10 or even a size 8.
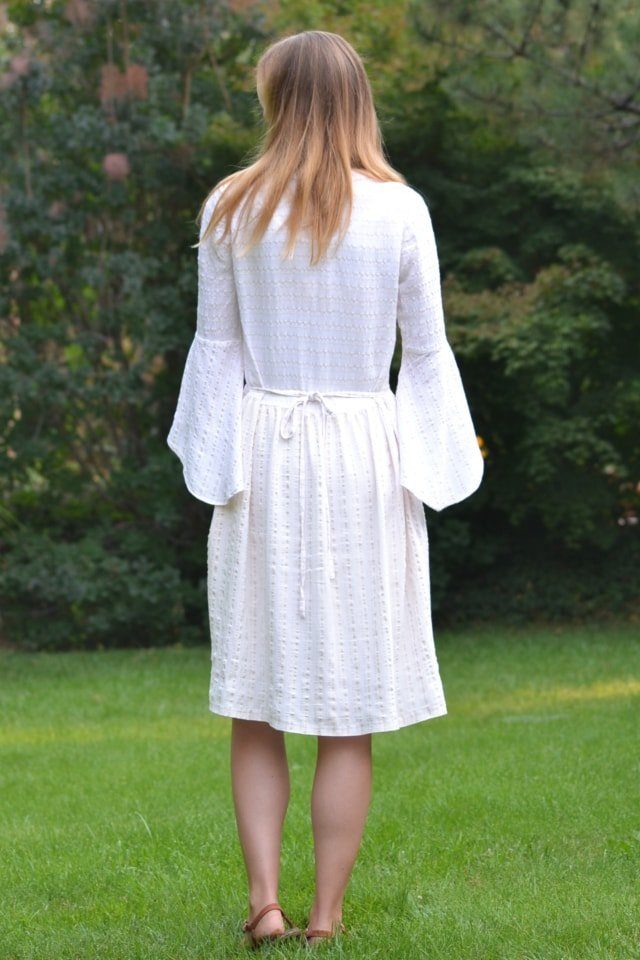
I added 1.5 inches to the bodice at the waist, and I added 2 inches to the skirt at the hem. I didn’t really need all that length in the bodice, and I wish the waist seam and the elbow seam were at the same place. I shortened the ruffle 1 inch and did a French seam in the ruffle to make it look nice since you see the inside a lot. I hemmed the sleeve with a how to sew a rolled hem without a rolled hem foot.
I feel like the ruffle sleeves are almost too over the top, but if ruffle sleeves go out of style I can always cut them off. It’s fun to wear for now, but they are really hard to wear while cooking or eating! (Ask me how I know!)
I thrifted this fabric from Savers earlier this year and just loved the off-white and tan stripes. It looks like seersucker to me, but it has a little less wrinkling than other seersucker fabrics I’ve seen. (I love thrifting fabric to save money while sewing. Also, whenever I thrift fabric I like to do a fabric burn test to help me figure the fabric out.)
I found three fabrics that look fairly similar to this fabric: khaki seersucker stripe*, tan seersucker stripe*, striped double gauze*, and classic khaki seersucker stripe*. If you are sewing stripes this is how to match stripes.
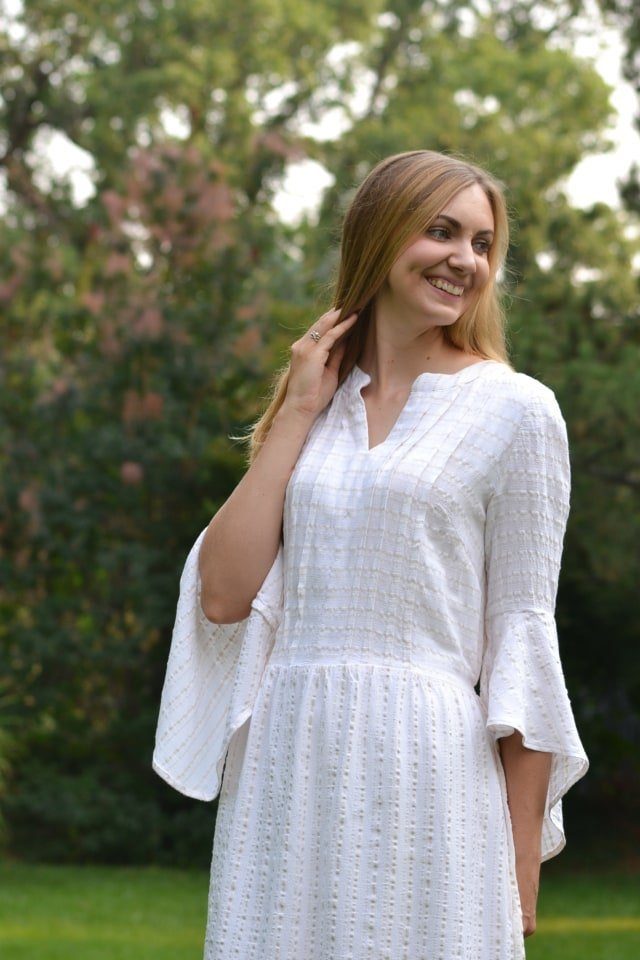
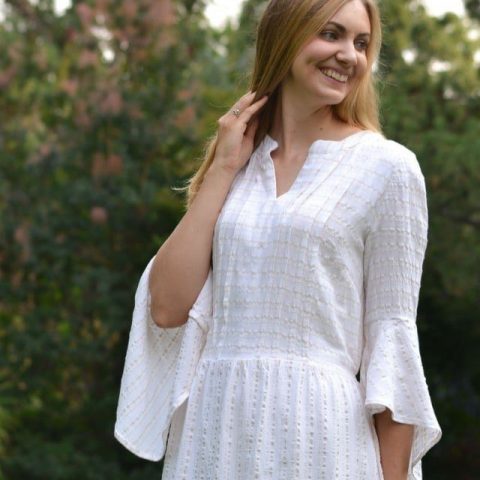
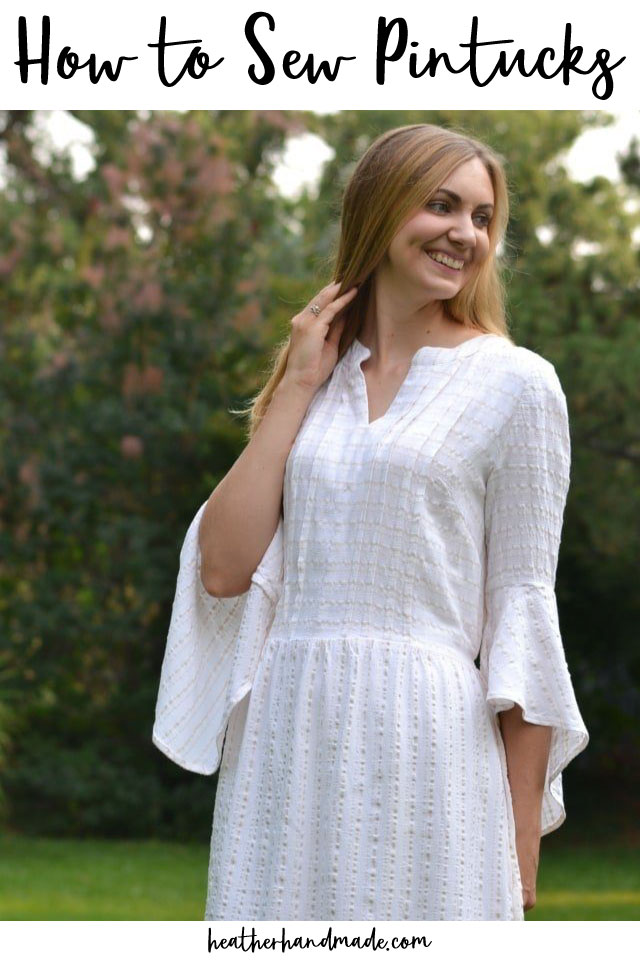
On the bodice and sleeves the stripes go horizontal, and on the skirt the stripes go vertical. The fabric drapes beautifully and rarely needs pressing. The pintucks along the front bodice work surprisingly well with the seersucker fabric. I used this tutorial “how to sew curves” to get a nice looking collar.
I love working with seersucker fabric, but I was shocked to realize I’ve only made one other item, a girl’s tunic, with seersucker. Seersucker is not hard to work with. I would say it’s harder than quilting cotton but easier than rayon.
Make sure you cut it out while it’s all shrunken and wrinkled to get the right size. When you press it some of the wrinkling will go away, but washing it will wrinkle it up again returning it to its regular shape and size.
When I first finished this dress, I washed it to get the pressed sections to “seersucker” up again. When I pulled it out of the dryer I gasped because there was a dark stain on the back of the skirt. It looked like an ink stain but nothing else in the load had been stained.
Twice I used a stain spray and washed it which got the stain to fade, but it never went away. I thought about sewing a patch on, but it didn’t look right. I cut out the back skirt piece and luckily had enough fabric to cut a new back skirt which I sewed.
I hated doing it again, but it’s always worth it to fix it so that I’ll actually wear it!
How to Sew Pintucks
Learn how to sew pintucks a couple different ways. Pintucks are a classic and sophisticated way to add details to a sewing project.
Materials
- Fabric
Tools
- Twin needle
- Sewing tools
- Sewing machine
Instructions
I'm going to demonstrate three different sized pintucks on the same sample of fabric. They will be sewn horizontally in these pictures.
The top tuck is marked with two parallel lines 3/4 inch apart, the middle tuck is marked with two parallel lines 1/2 inch apart, and the bottom tuck is marked with one single line. I marked the lines with my favorite Tailor's Chalk*.
In this video I demonstrate how to sew pintucks and how I ironed the pintucks.
The first two tucks are sewn with a regular needle, folded on the center, and sewn a certain distance from the fold. The last pintuck is sewn with a wide twin needle and then the bobbin thread is pulled tight to form the pintuck. (Read more about how to use a twin needle.)
These are my pintucks before they were ironed. You can see my chalk marks.
All are ironed on the fold first and then ironed all one direction. Pintucks are commonly ironed down or out and away from the center of the garment.
The back of the top two tucks look just like a seam. They will be smooth and will not irritate your skin.
The back of the twin needle pintuck will have some threads that could irritate your skin.
Recommended Products
As an Amazon Associate and member of other affiliate programs, I earn from qualifying purchases.


Now you know how to sew pintucks! If you make something using this tutorial, I’d love to see! Please share it on social media with the hashtag #heatherhandmade and tag me!

I believe small sewing moments can create great joy. Find your own “right” way to sew. -Heather
So a pintuck is a small pleat basically?
Essentially yes!