
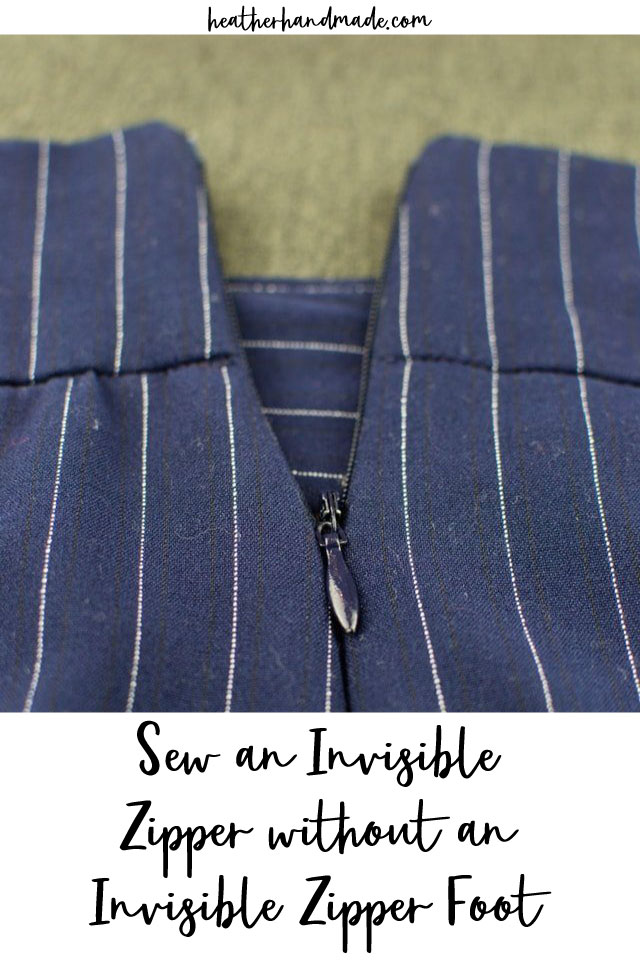
How To Sew an Invisible Zipper without an Invisible Zipper Foot

This post may contain affiliate links.
Learn how to sew an invisible zipper without an invisible zipper foot. It makes sewing invisible zippers easy and professional!
I love the look of invisible zippers. When I started working at a tailor shop back in college my boss taught me this trick. We were using industrial sewing machines and couldn’t use an invisible zipper foot with them.
I’ve only use this sewing hack with invisible zippers since then. (You can also sew an invisible zipper with an invisible zipper foot.)
In this sewing tutorial I should you how to sew the zipper into a sample and I share pictures of how to add lining when inserting an invisible zipper without an invisible zipper foot. My favorite thing to make with an invisible zipper is an invisible zipper pillow cover.
What is an Invisible Zipper?
An invisible zipper is a zipper that is inserted without any topstitching. The zipper tape is curled so that the zipper tape is curled to the inside of the garment. They are the weakest of the zippers, but they are the least visible zipper.
What is an Invisible Zipper foot?
An invisible zipper foot is a sewing machine foot that has grooves on the bottom of the foot. The zipper teeth of the invisible zipper fit right in the groove and hold them in place while the zipper is moved along. The sewing machine needle is able to sew right next to the zipper teeth in a straight line without sewing on them.
It is nice to have an invisible zipper foot, and it makes an invisible zipper to sew. It is possible to sew an invisible zipper without an invisible zipper foot!
How to sew an invisible zipper without an invisible zipper foot
Supplies
- Invisible zipper
- Sewing project or sample
- Sewing tools
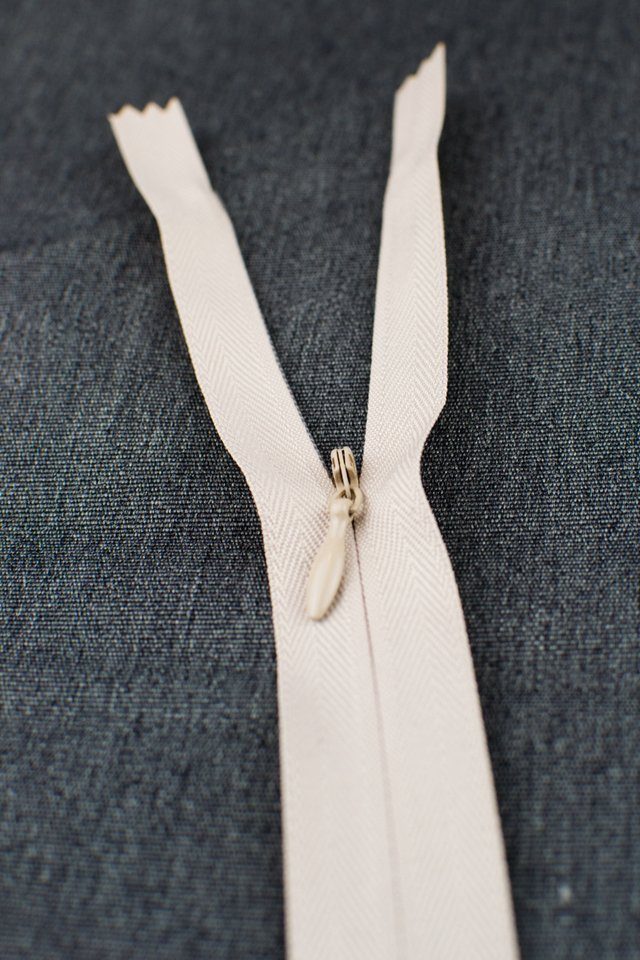
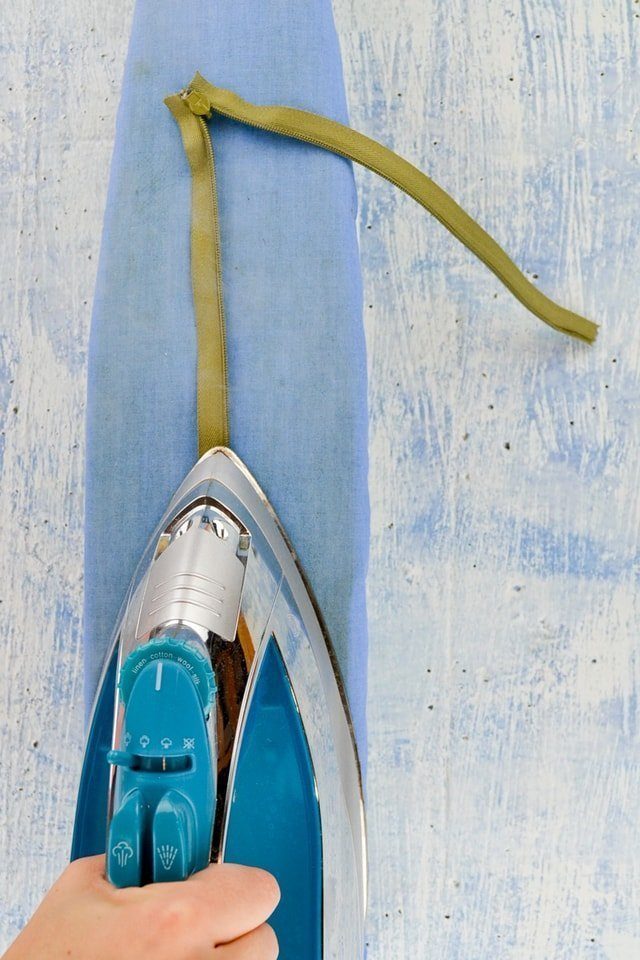
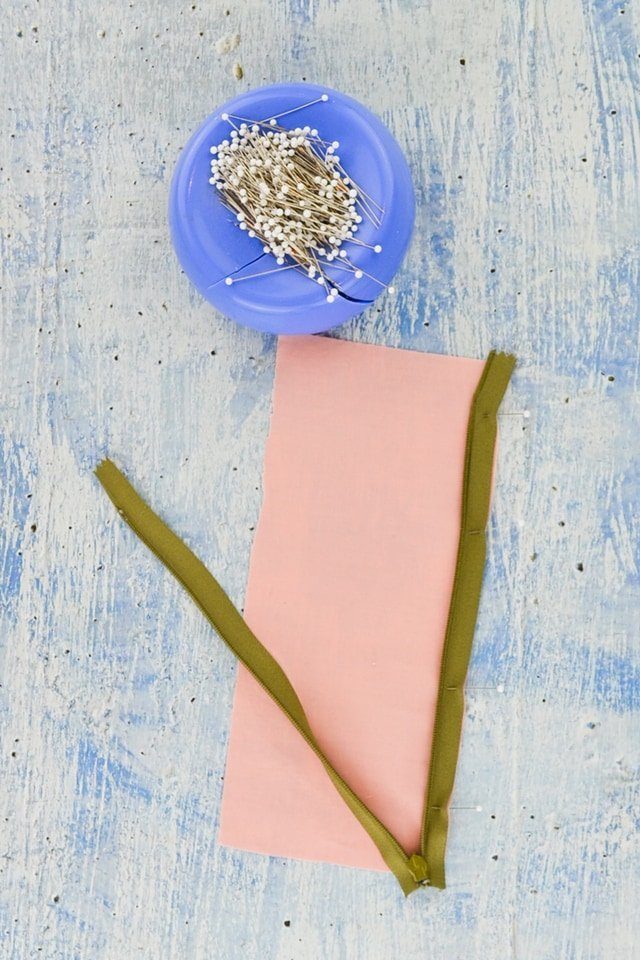
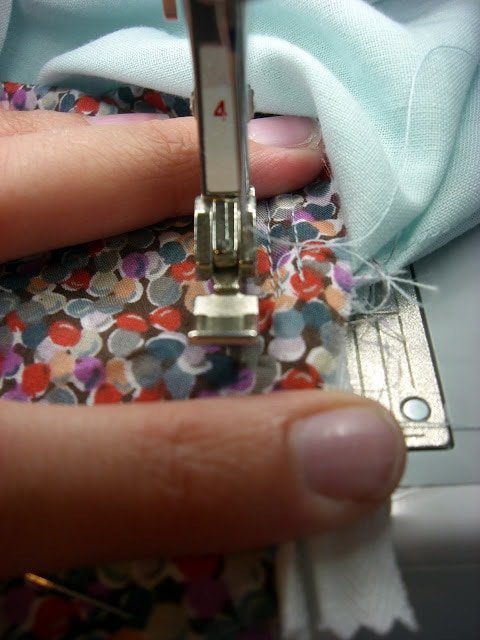
Open the invisible zipper. Lay it face down on an ironing board. Use the iron to uncurl the zipper tape right next to the zipper teeth. The ironing can make the zipper temporarily change shape. Uncurl and iron both sides of the invisible zipper.
Pin the right side of the fabric to the right side of the zipper. The edge of the zipper tape should line up with the cut edge of the fabric.
The raw edge of the fabric should be finished before pinning and sewing the zipper.
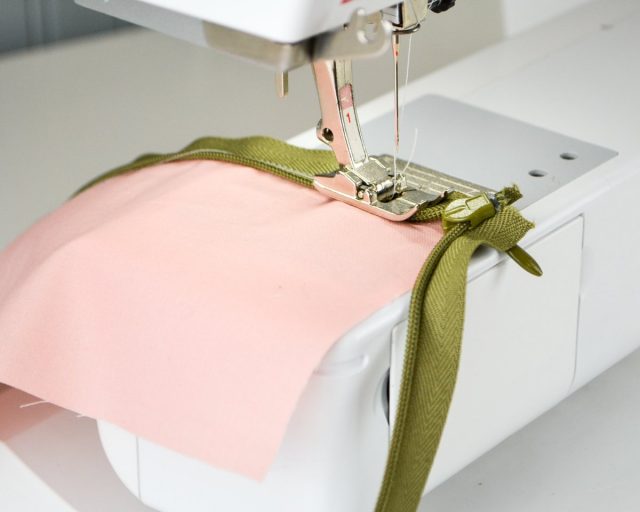
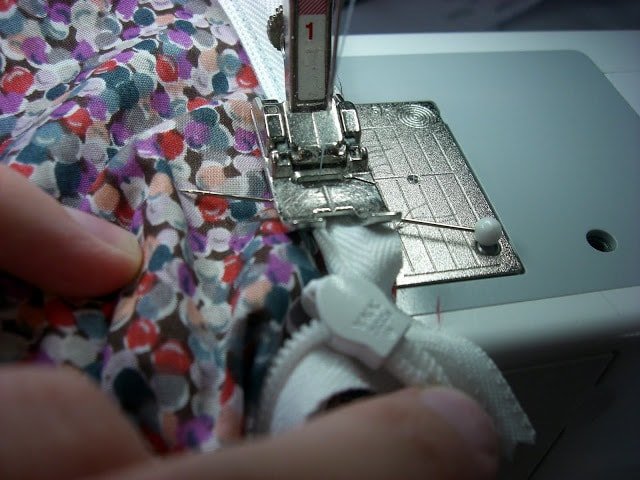
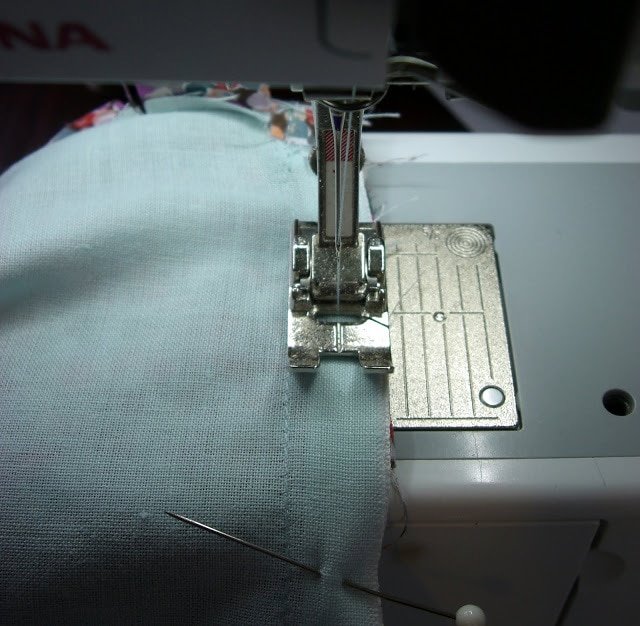
Sew the zipper to the fabric with a regular sewing machine foot and a straight stitch. You will sew right next to the zipper teeth, but do not sew over the zipper teeth because then the zipper will not work anymore.
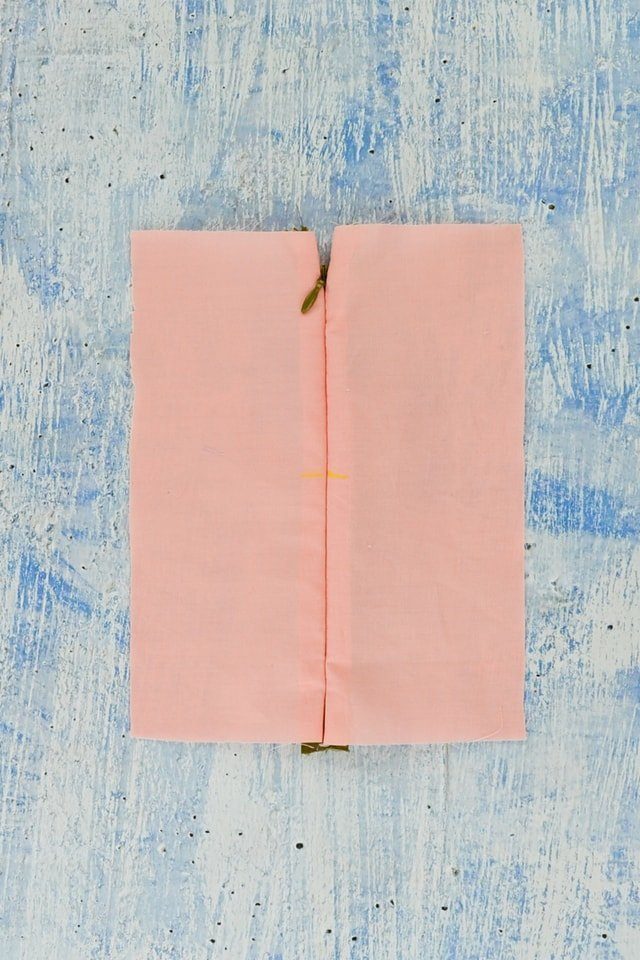
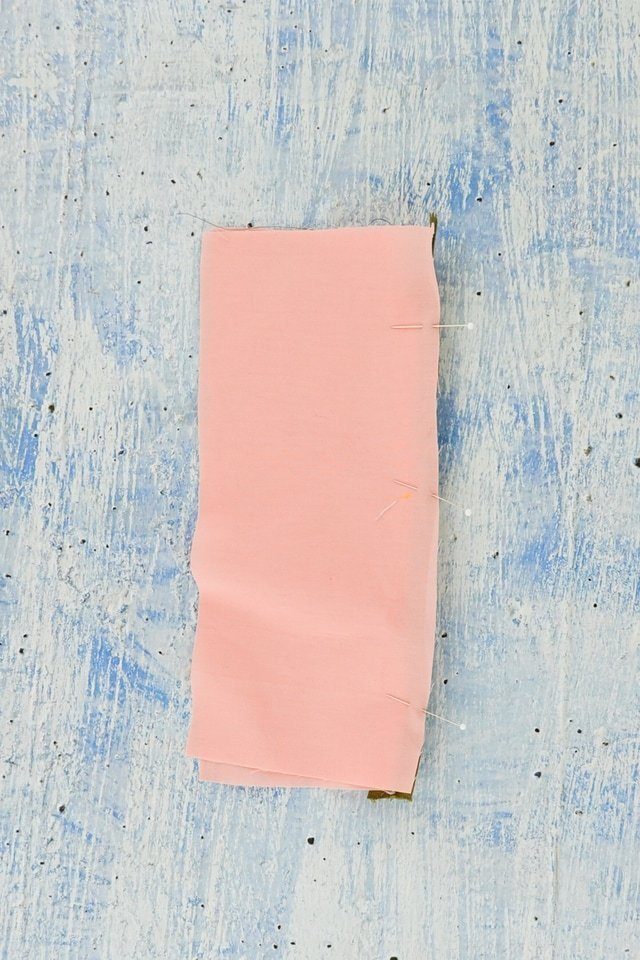
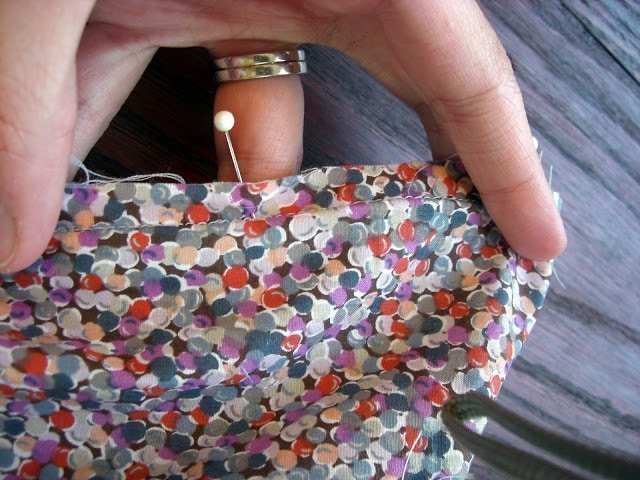
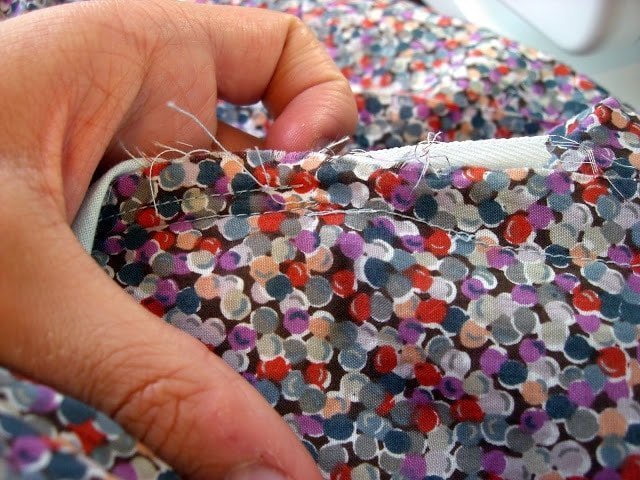
Pin the opposite fabric to the other side of the zipper. The right side of the zipper should face the right side of the fabric. The cut edge of the fabric should line up with the edge of the zipper tape.
Before you sew check to see if any designs or seam lines line up. I had drawn a yellow line before pinning to make sure I lined up while pinning and sewing.
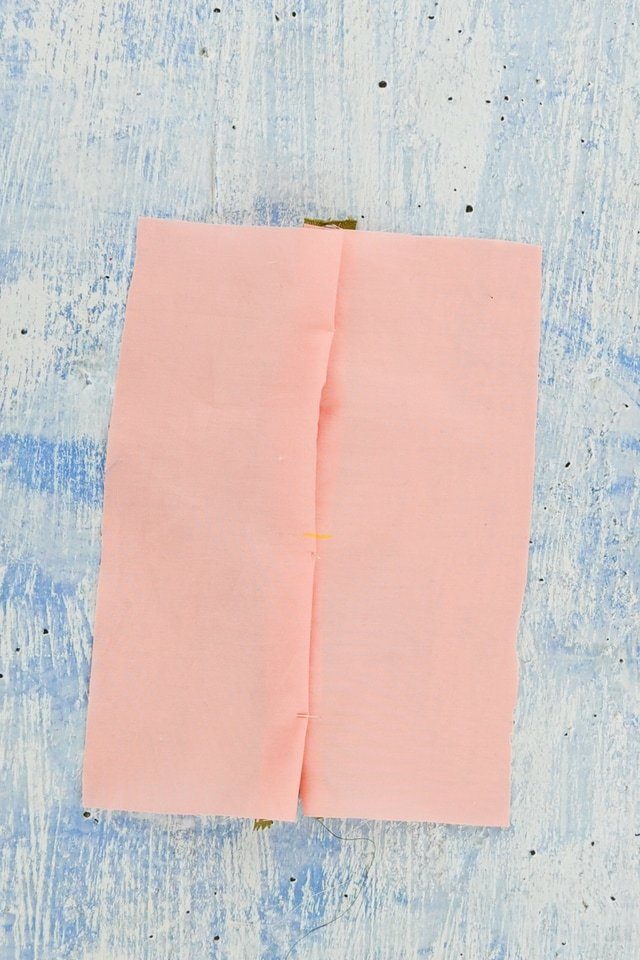
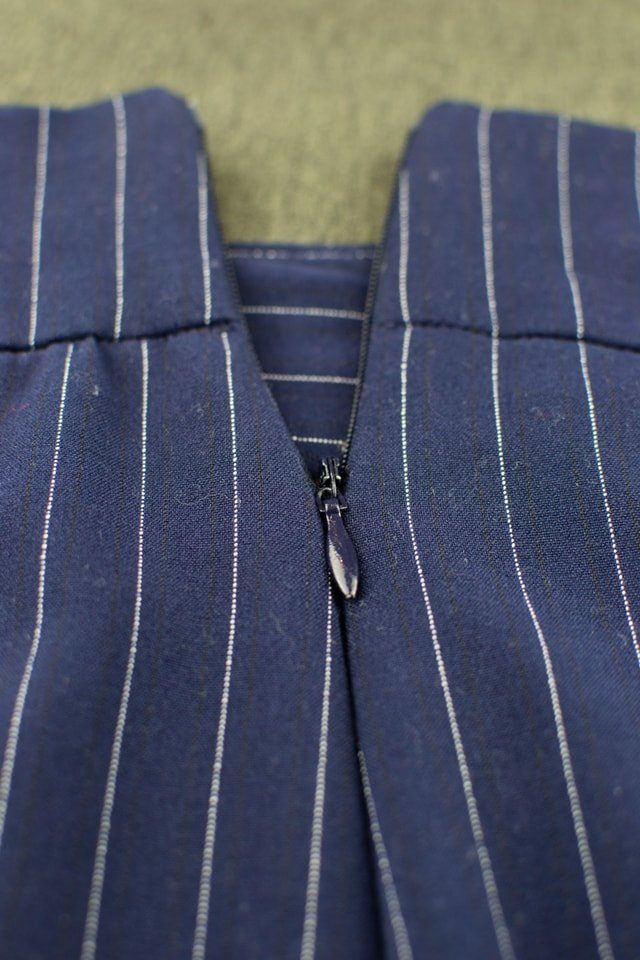
Sew the other side of the zipper with a straight stitch and regular sewing machine foot. Sew right next to the zipper teeth. Zip up the invisible zipper and the zipper teeth will curl just like they did before you ironed it open.
How to Sew an Invisible Zipper with lining
I sewed a lined dress and took pictures of how I sewed an invisible zipper in a dress. I skipped some of the pictures since you can see them above.
*TIP* The neckline or waist should be finished and understitched before inserting the zipper.
Lay the zipper out face down and uncurl the zipper teeth. Iron the zipper teeth open.
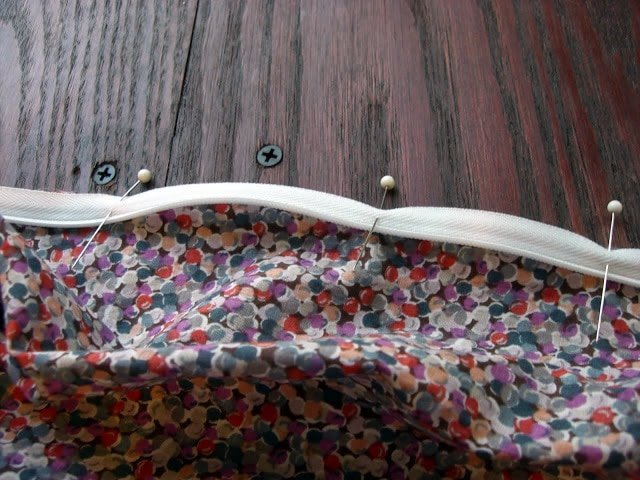
Pin the zipper onto the edge of the dress or skirt. You don’t need to finish the edge of the cut edge of the fabric since it will be covered with lining.
Sew on the zipper tape right next to the zipper teeth. Be careful to not sew over the zipper teeth!
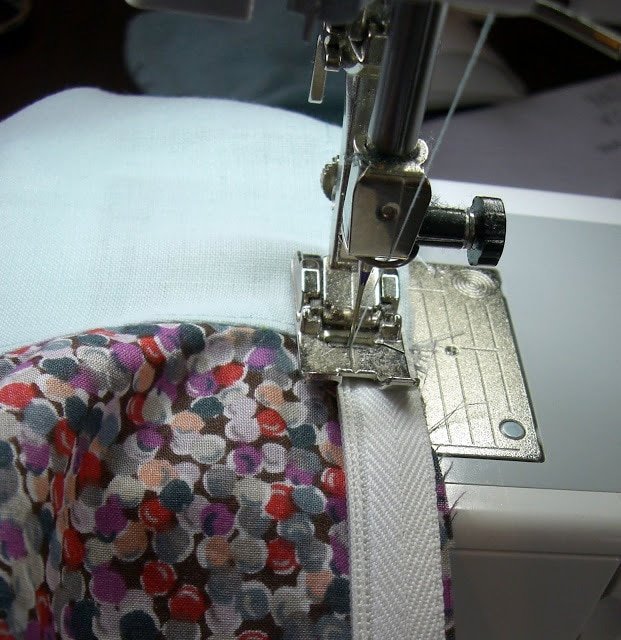
Sew all the way down the zipper until the pull stops you.
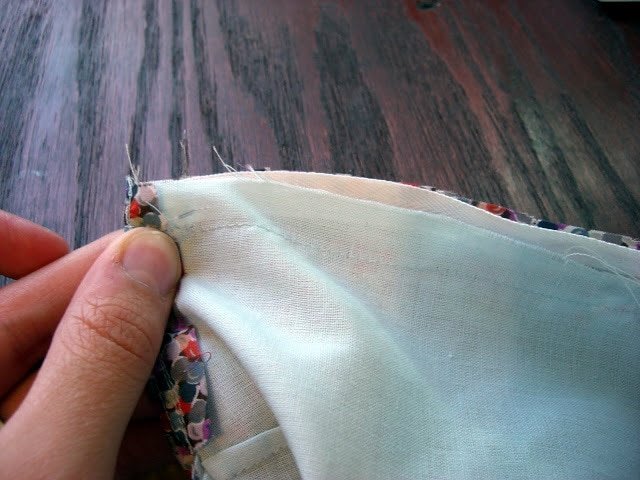
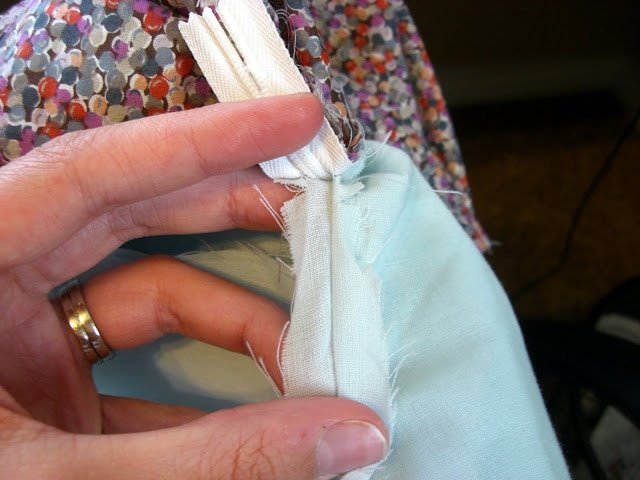
Lay your item out like this. The lining is on the left and the garment/zipper is on the right. You will fold it where the top of the zipper is, right sides together. The lining will come over to the right.
This is what it should look like. The fold I’m holding will become the top edge of my dress. Also, make sure the top part of the zipper, above the stop, is pulled out into the seam allowance so it doesn’t show when the zipper is finished.
Pin the two cut edges of fabric from the outer fabric and lining together with the zipper tape sandwiched in between.
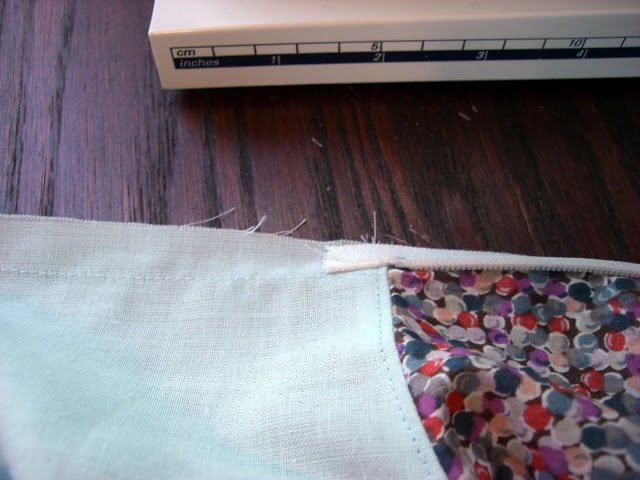
Sew the three layers together with a 1/4″ seam allowance.
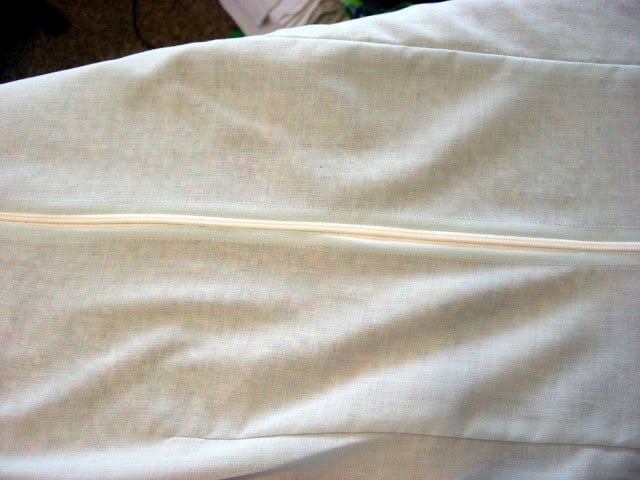
The inside of the dress will show a little bit more of the zipper than the outside.
To finish the seam below the zipper, put in a zipper foot. At the bottom of the zipper, sew right next to the seam. The zipper foot will help you get right next to the stitching. Sew down to close the seam.
The stitching won’t line up exactly but it should be close.
Do the same to the lining using the zipper foot. To make this easier, clip the lining just under the zipper to pull it away.
If you make something using this sewing project, I’d love to see! Please share it on social media with the hashtag #heatherhandmade and tag me!

I believe small sewing moments can create great joy. Find your own “right” way to sew. -Heather
Great tutorial! I haven't tried zippers yet but maybe I will now.
clothed much, a modest fashion blog
Wow! I am going to learn so much from you, zippers are so hard for me to do (I'm a beginner) and this is such a great tutorial, thank you so much! I will try it…and try it and try it a lot of time =P until I get it right.